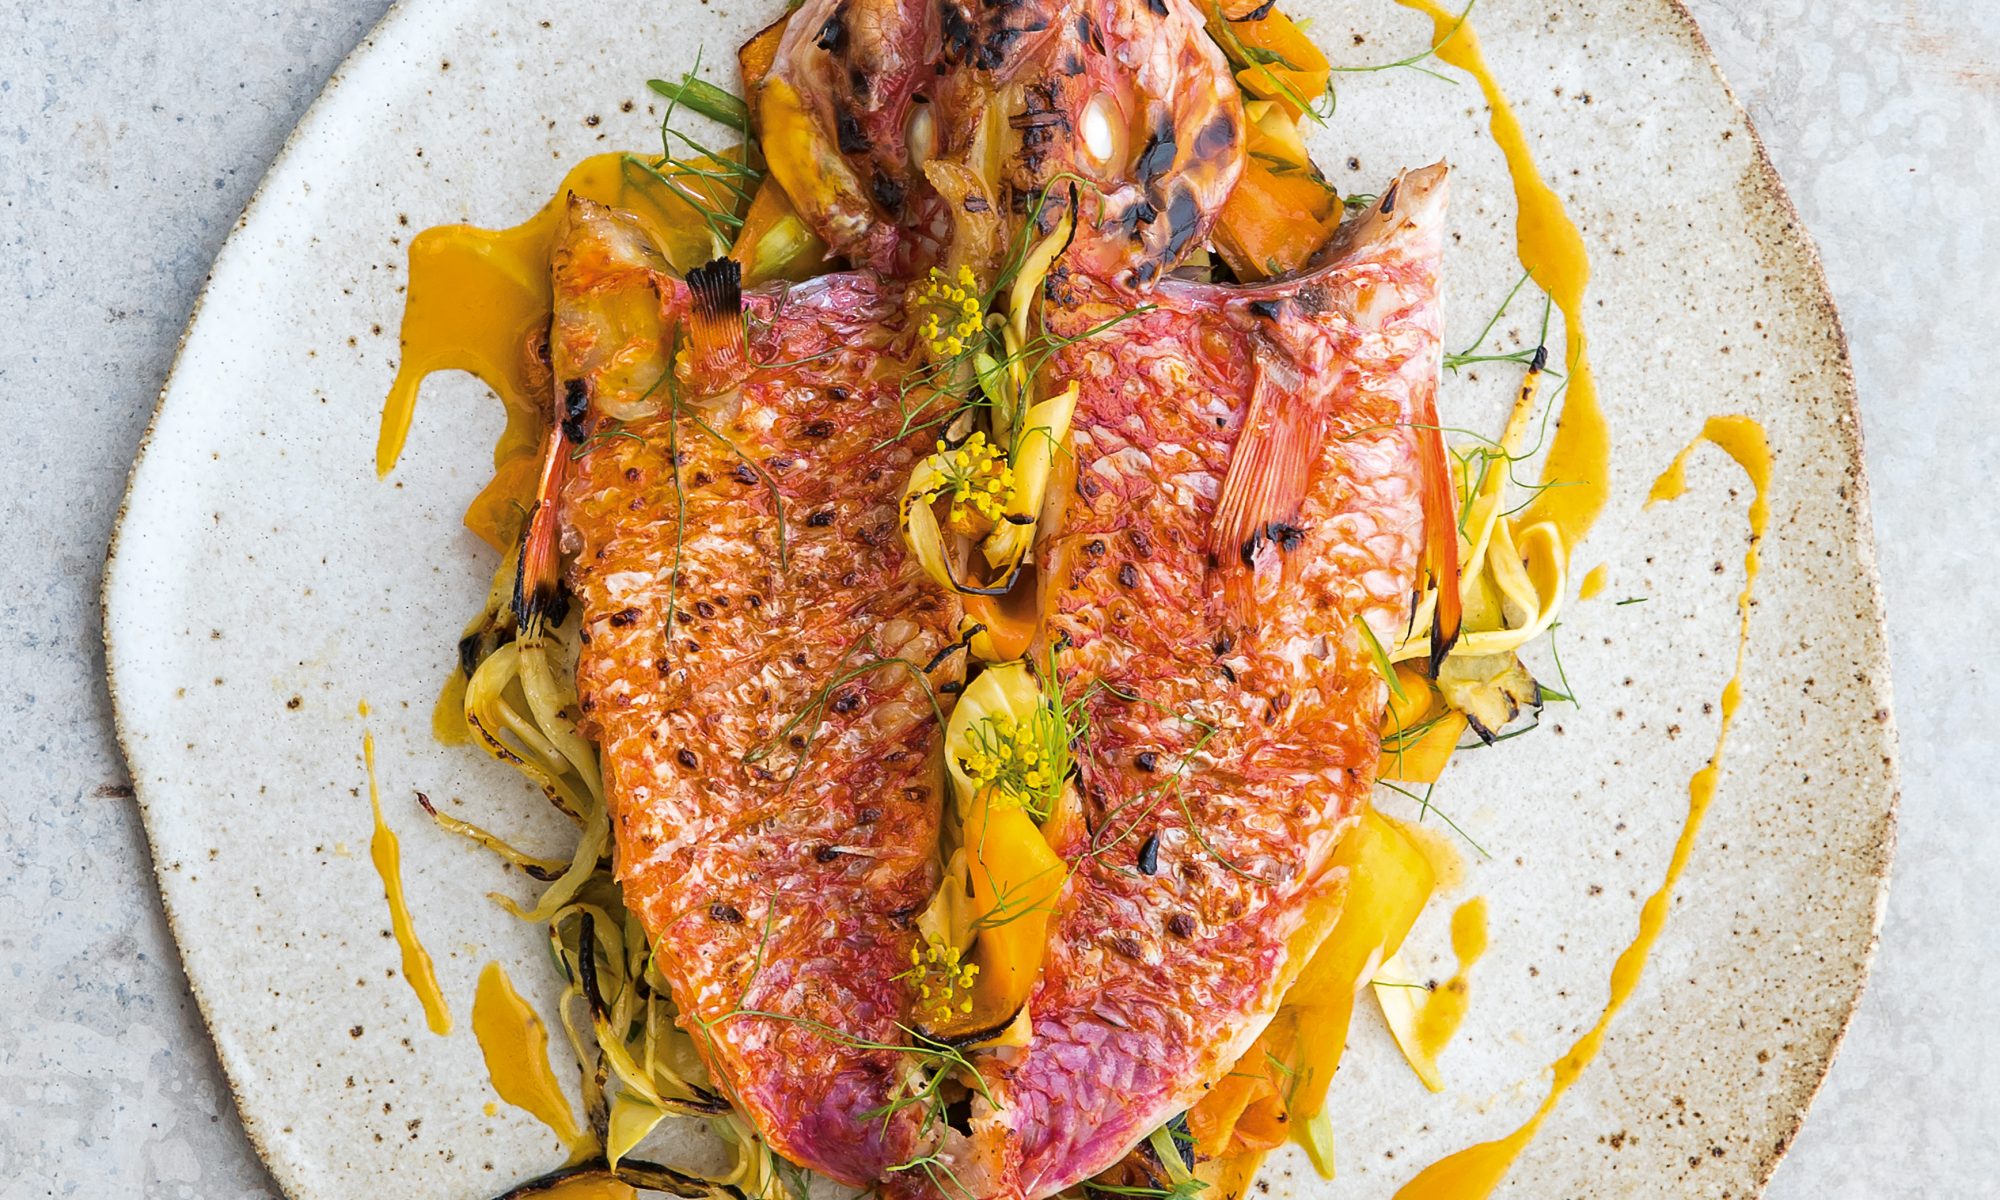
Lennox Hastie – Red Mullet Esabeche

Lennox Hastie – Red Mullet Esabeche

  • Prep Time30 min
  • Cook Time10 min
  • Total Time40 min
  • Yield4 Servings

Ingredients

  • 8 red mullet
  • zest and juice of 8 oranges
  • zest and juice of 2 limes
  • 1 lemongrass stem, bruised and chopped finely
  • ½ teaspoon fennel seeds
  • 1 bunch baby carrots, peeled and finely sliced
  • 3 baby fennel bulbs, outer layers peeled and finely sliced
  • sea salt
  • 4 spring onions (scallions), finely chopped
  • 100 ml (3½ fl oz) olive oil, plus extra to drizzle
  • ½ bunch fennel fronds, picked
  • 1 head fennel flowers

Method

1

The grill should be hot around 250°C/480°F+

2

Scale and gut the fish, and remove the gills. Rinse quickly and dry well.

3

Butterfly the fish. Use a sharp knife to make an incision along the skin on the back of the fish to one side of the dorsal fin. Following this line, run the knife horizontally from the head to the tail, going halfway to the backbone. Move the knife through to the underside of the fish, then run the knife along the whole fillet. Turn the fish over and repeat on the other side.

4

With a pair of scissors, carefully cut the backbone free behind the head and in front of the tail. This will enable you to easily remove the backbone while retaining the head and tail, which hold the fish together during grilling.

5

Trim the belly. Locate the bones running along the middle of the top half of the fillet and carefully remove them using tweezers.

6

Prepare the escabeche vegetables. In a small saucepan, combine the zest and juice of the oranges and limes, the lemongrass and the fennel seeds. Bring to the boil and simmer until reduced to approximately 200 ml (7 fl oz) of liquid. Pass through a fine-mesh sieve and, while warm, pour over the sliced carrots and fennel. Leave for 40 minutes to macerate.

7

Season the flesh of the fish with sea salt, and grill in an enclosed grill rack over intense embers for 2 minutes, skin side down, until beautifully caramelised.

8

Meanwhile, drain the carrot and fennel (reserving the liquid) and grill for 2 minutes with the spring onions until lightly charred. Season, drizzle with olive oil and garnish with half of the fresh fennel fronds.

9

Transfer the fish to a clean tray, add the reserved escabeche liquid and allow to rest for 1 minute, during which time the acidity will finish cooking the fish.

10

Gently heat the olive oil in a small saucepan and pour it over the red mullet. Strain all the liquid back into the saucepan, whisking continuously and allowing a light emulsion to form.

11

Place the pickled and grilled vegetables on a plate, top with the fish and pour the emulsion over. Finish with the remaining fresh fennel fronds and the flowers. Serve immediately.

Incorrectly classed in the UK as mullet, red mullet is actually a member of the goatfish family and a favoured part of the Mediterranean diet. I worked with red mullet for years in Europe and it was only when I came to Australia, where they are often sold under the Greek nomenclature barbounia, that I realised the fish was not a true mullet. They were so valued in ancient Rome that they sold for their weight in silver. Though small, red mullet has a sweet and delicately flavoured flesh, and fine oil running under the skin that crisps up beautifully on the grill. In this recipe, the escabeche refers to the pickled vegetables; the acidity completes the cooking of the mullet as it comes off the grill. The vibrant combination provides a taste of sunshine no matter what the weather.

Recipe kindly supplied by Lennox Hastie from Finding Fire: Cooking at its most elemental (Hardie and Grant £30)
Free Recipe Card

Red Mullet Escabeche

Download the free PDF Recipe Card

Kadai Fire Bowl – Review by Chillin n’ Grillin

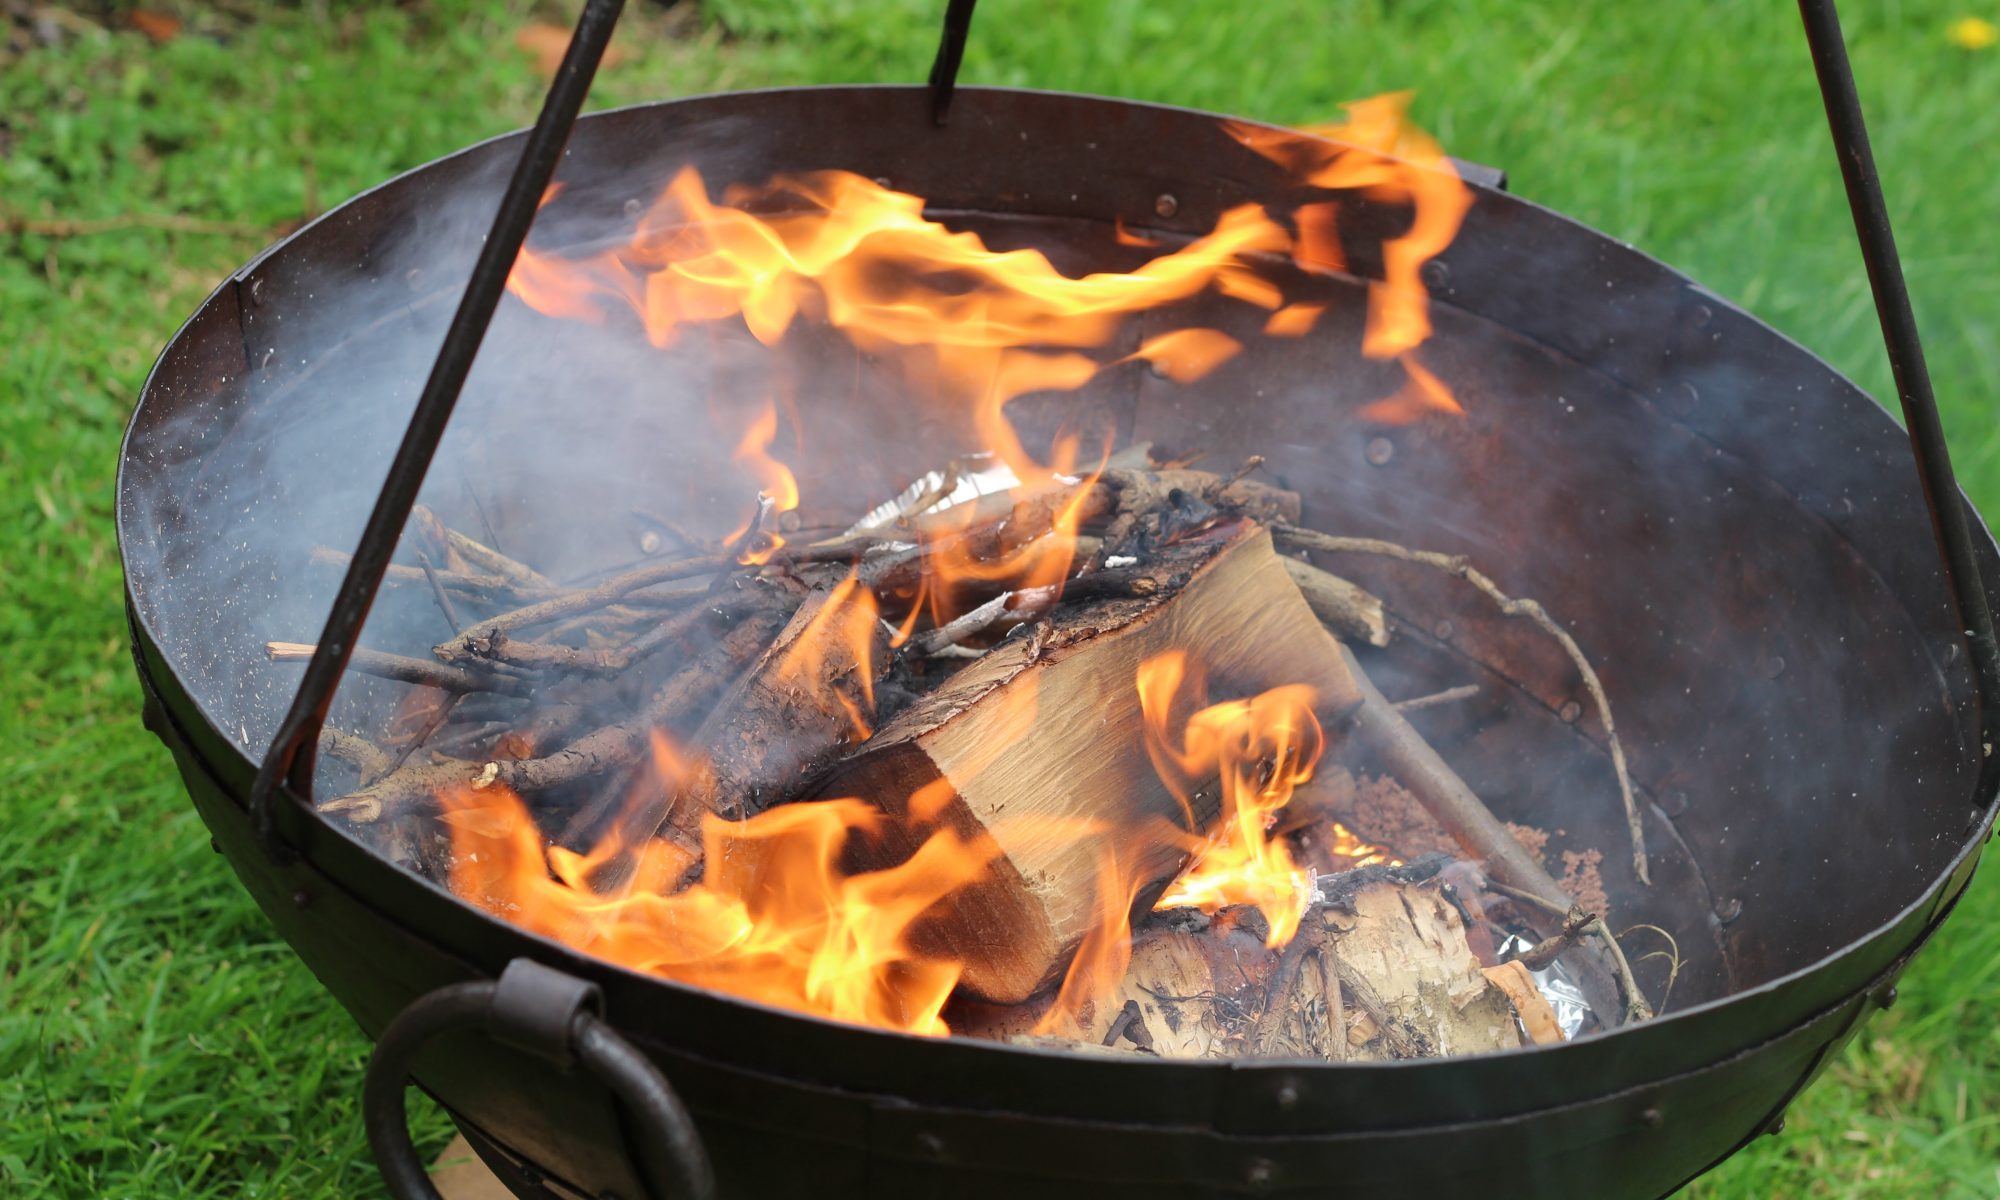
After cooking on a wide variety of BBQ’s and smokers including a pellet smoker we decided that we would like to go back to basics and try some cooking over a wood fire. A bit of research led us to the Kadai Indian Fire Bowl. We were lucky to get it in the end of season sale and as a result we also purchased the cooking tripod with chain and the cooking bowl. They recommend putting some sand in the bottom to protect the bowl, we did this along with a sheet of tinfoil.

We contacted our local stove supplier to see if we could get logs to burn and where lucky to get a barrow bag of silver birch for £35. A barrow bag is about the size of a wheelie bin. To light the Kadai, we use a flamer, a little charcoal and a few twigs from the hedge at the bottom of the garden, this makes the logs very easy to light. We have been starting with three logs and adding as needed depending on the length of the cook

Our first foray was to hang a chicken over the grill. We had seen Marcus from Country Wood Smoke cooking a leg of lamb in the same way. The chicken turned out lovely and moist as they normally do when cooked outside. We have since cooked a casserole using our dutch oven, a chilli using the cooking bowl and after purchasing a hacienda swing grill, spatch cock chicken, harrissa lamb and shawarma cauliflower.

All in all the Kadai is a great bit of kit and good fun to cook on, in the cooler weather I still prefer one of the bbq’s that have a lid to preserve the heat but we will definitely get good use of the Kadai.

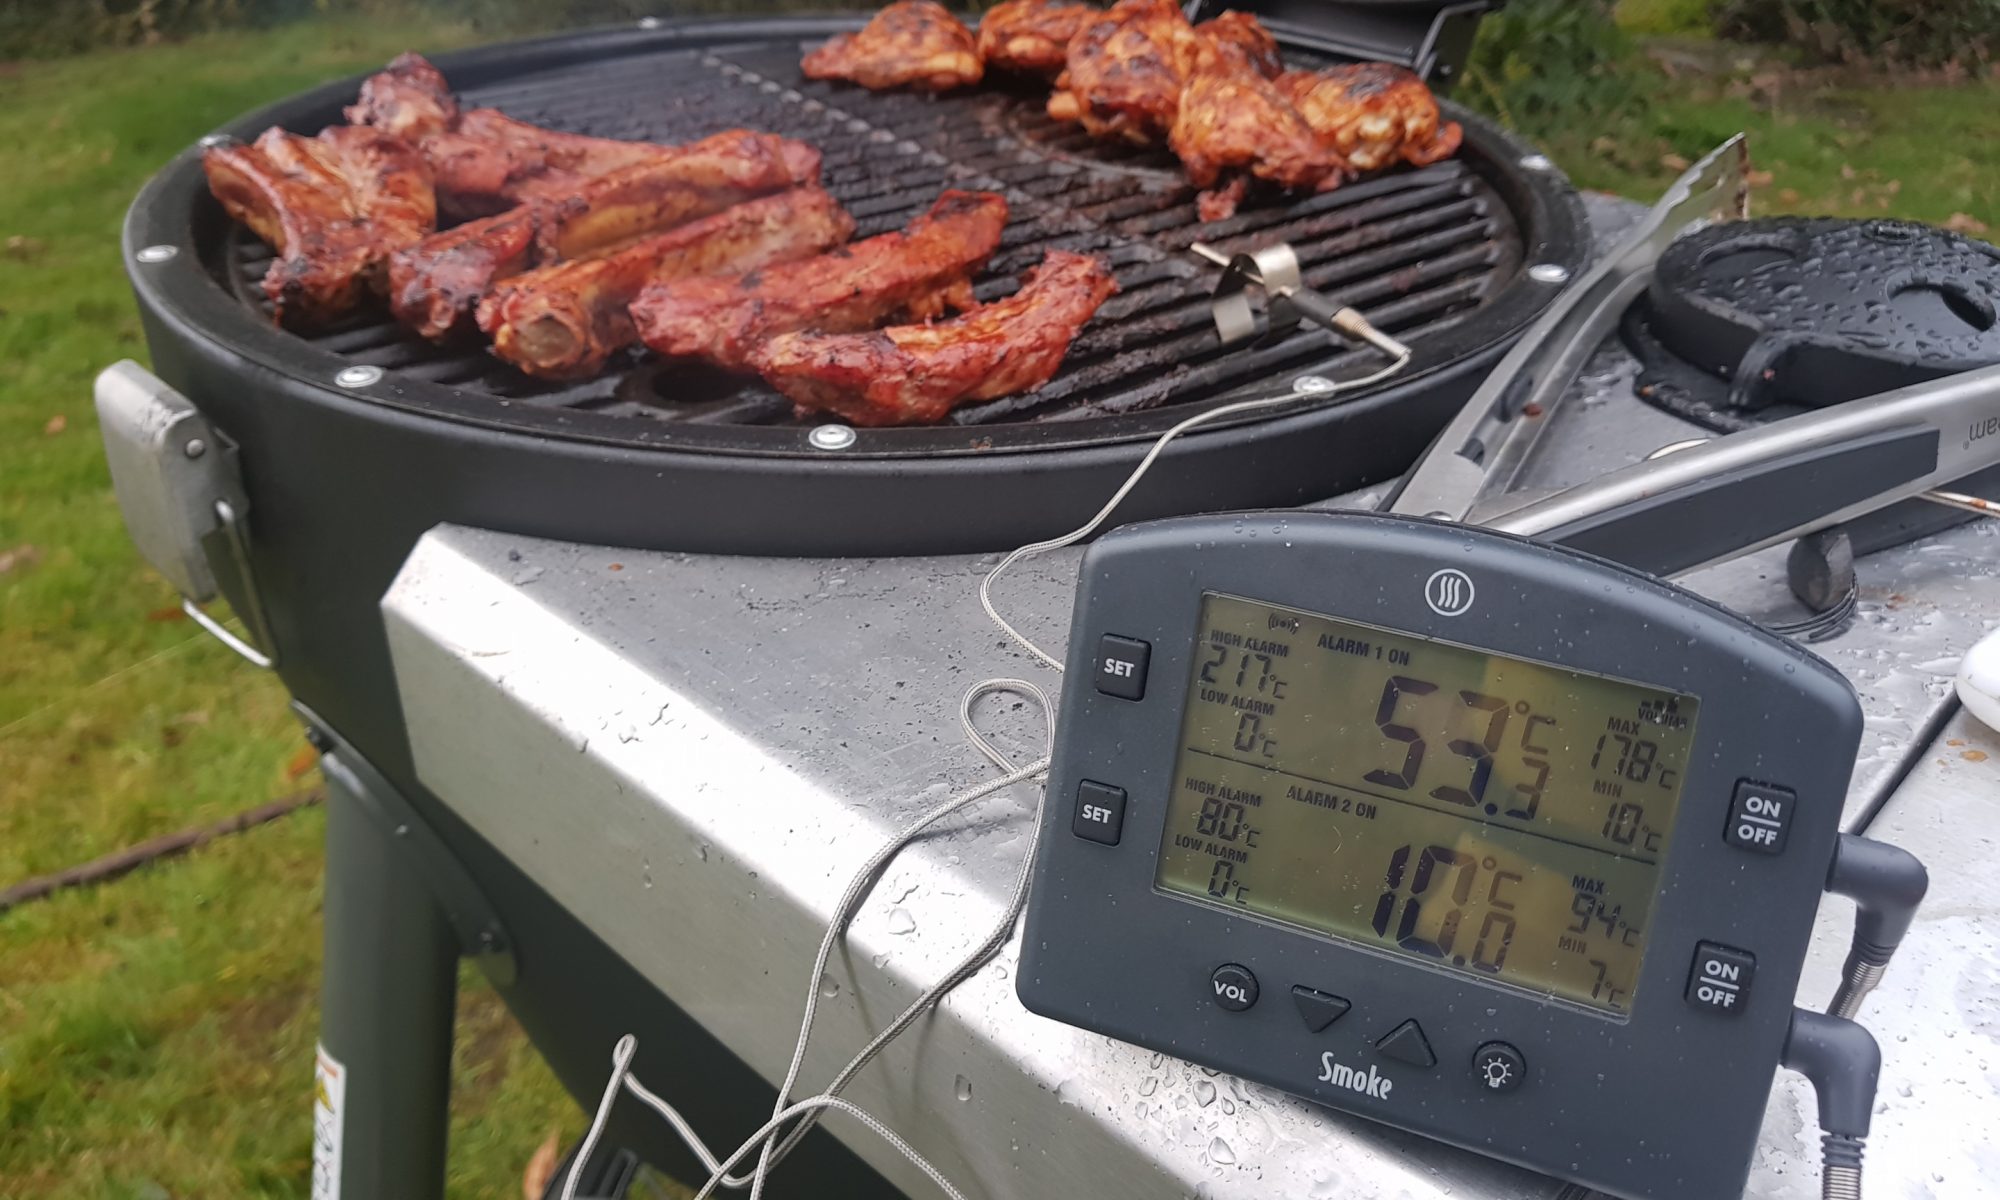
Thermaworks Smoke – Review by Marcus Bawdon

The Thermoworks Smoke is recently available in the UK. It is a definite upgrade for those looking for something a bit more substantial and easier to use than a maverick.

The main screen is a great size with large numbers…meaning a glance at the temperatures are often enough. But if you are moving further away from the bbq…then the range is impressive…easily a few hundred feet. The length of our garden and inside the kitchen. At £78 delivered it’s a real contender.

The portable receiver unit is well designed easy to read and solid. The whole thing reeks of reliability and long use. It’s a 2 probe thermometer. Ideally the option for a third or fourth probe would make a good upgrade. The probes themselves are robust and come with one ambient and one for the food. Alarms are easy to set and very loud.

This is my favourite thermometer at the moment and has been well thought through for the bbq market. A WiFi bridge is soon to be available here in the UK which will mean you’ll be able to monitor your cooking from down the pub…

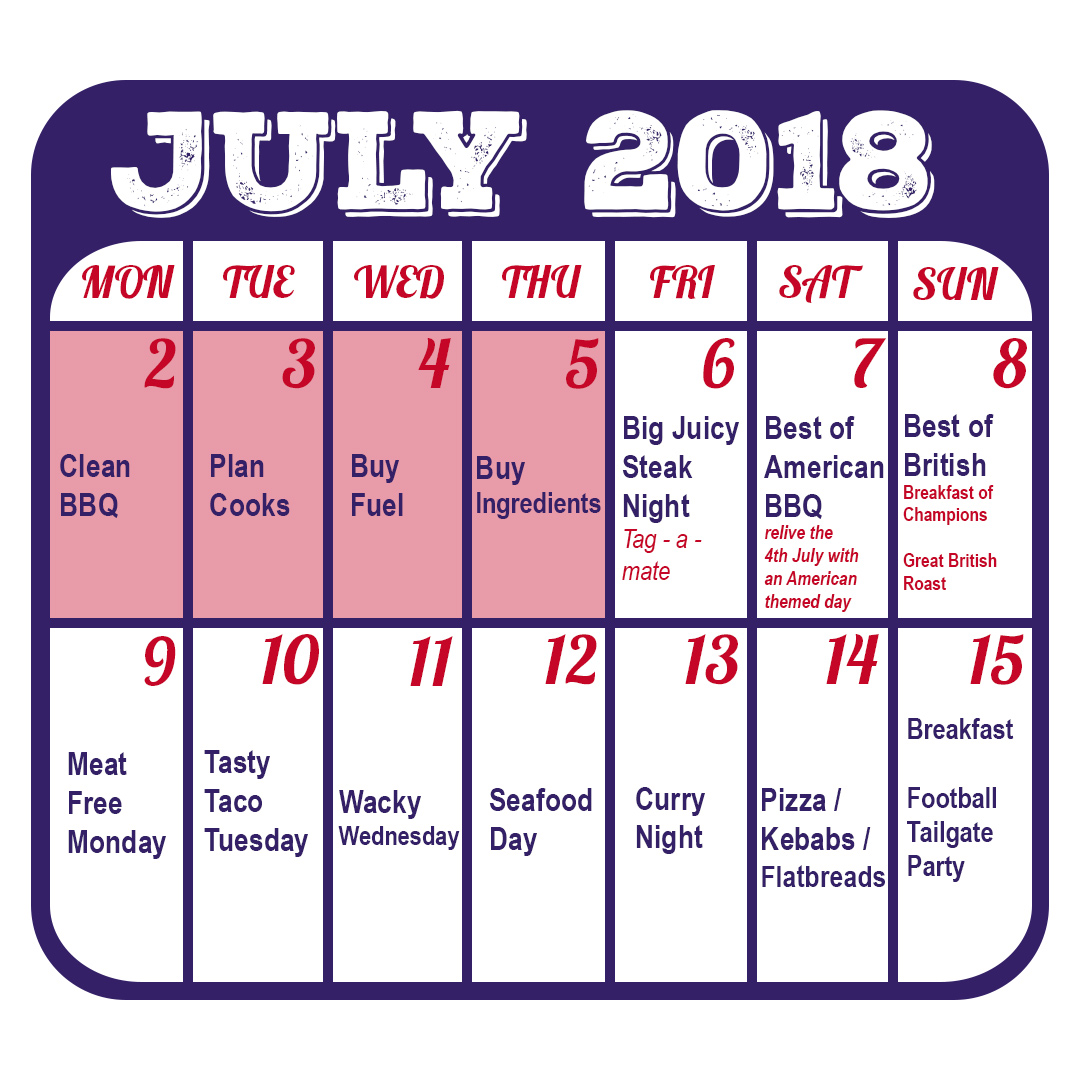
10 Days to BBQ – UK-BBQ-WEEK 2018

Friday 6th July

Steaks are probably the king of the BBQ. What ever steak you are cooking we would love to see it and remember to tag a mate that would be envious of it too.

Saturday 7th July

The 4th of July can be relived today, get your favourite American food on the BBQ, whether it’s a juicy burger or maybe some smok’in ribs. We want to see the stars and stripes of cooking on your BBQ

Sunday 8th July

Have you ever cooked breakfast on the BBQ?, If not now is the time to cook the full English outdoors. Or try cooking your favorite breakfast on the BBQ, post on social media with our hashtag  #ukbbqweek

Now you’ve warmed up the BBQ today, Cook your Sunday roast on the BBQ, Leg of Lamb, Chicken, rib of Beef or a big pork shoulder. Show us your Great British roast dinners all cooked outdoors. We would love to see some roast potatos and Yorkshires too…

Monday 9th July

Today its meat free Monday, get creative and cook a meat free dinner on the BBQ, how about a Cauliflower Shawarma or some Halloumi Skewers, whatever you want to cook on the BBQ today, let it be meat free. Check out our sponsors for some ideas too. Tag us #ukbbqweek

Tuesday 10th July

We all love tacos and with an almost infinite list of fillings we think today you can get really creative with your BBQ.

Wednesday 11th July

This is the peoples vote, you’ll find out more about this one nearer to the day.

Thursday 12th July

Bring the taste of the sea to your BBQ! Fish is so easy and quick to grill on the BBQ or why not try cooking Mussels or Oysters and who could forget some fat prawns. Tag us your cooks #ukbbqweek

Friday 13th July

Time to spice things up and a curry cooked on the BBQ not only has all the lovely spices but a hint of smoke too. We have some awesome recipes you can try or show us your own creations. Don’t forget the Naan bread!

Saturday 14th July

As we move towards to the football final, tonight its all about Pizza’s and flatbreads. So if you have a pizza oven or wood fired oven lets see you fantastic pizza creations. Alternatively make some easy flatbreads and cooks some of your favorite meat or vegetables as kebabs.

Sunday 15th July

Our last day of UK BBQ Week is also the last day of the football, so its Tailgate BBQ time. Cook what ever you love to cook and get your friends round and show everyone on social media your party.

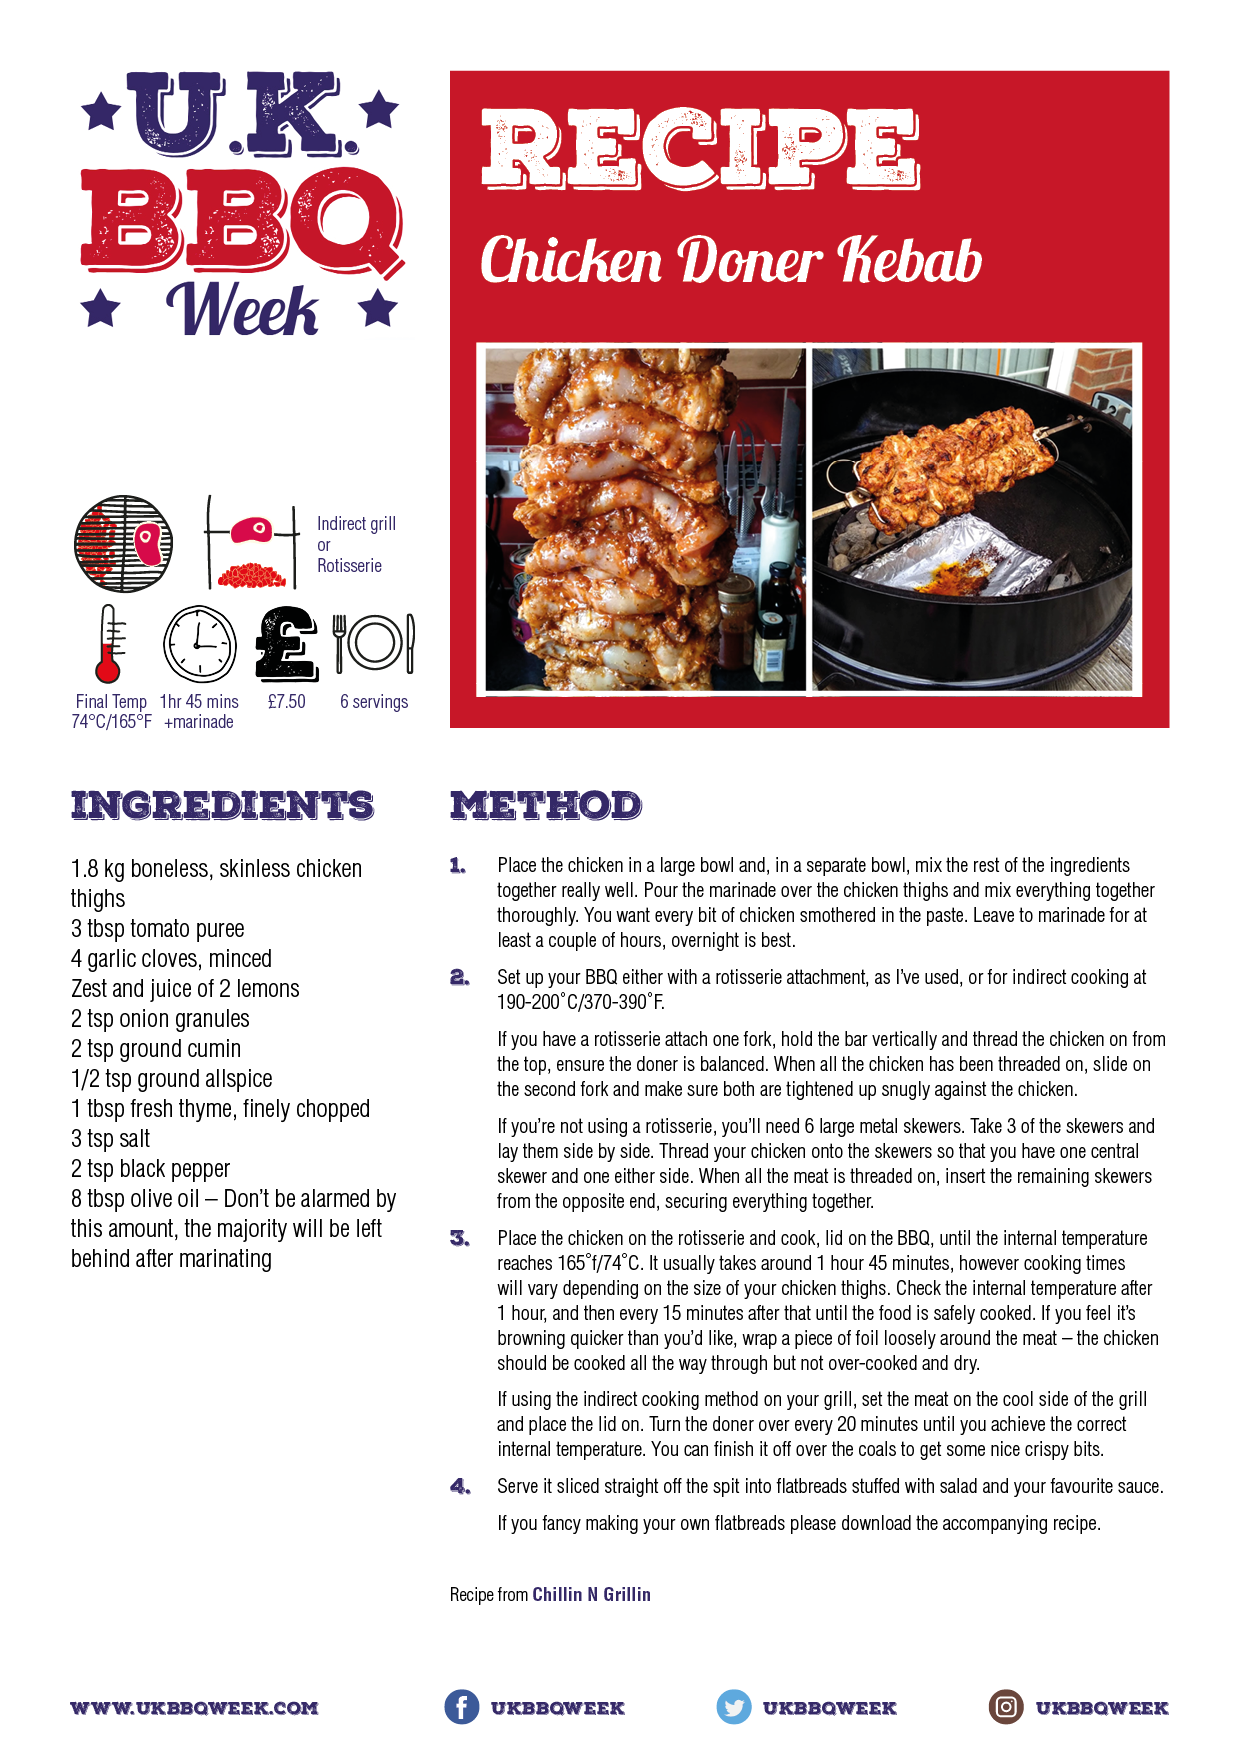
Chicken Doner Kebab with Flatbreads

Chicken Doner Kebab with Flatbreads

  • Prep Time15 min
  • Cook Time1 hr 45 min
  • Total Time2 hr
  • Yield6 Servings
  • Cooking Method
    • Rotisserie or Indirect

Ingredients

For the doner kebab

  • 1.8 kg boneless, skinless chicken thighs
  • 3 tbsp tomato puree
  • 4 garlic cloves, minced
  • Zest and juice of 2 lemons
  • 2 tsp onion granules
  • 2 tsp ground cumin
  • 1/2 tsp ground allspice
  • 1 tbsp fresh thyme, finely chopped
  • 3 tsp salt
  • 2 tsp black pepper
  • 8 tbsp olive oil – Don’t be alarmed by this amount, the majority will be left behind after marinading

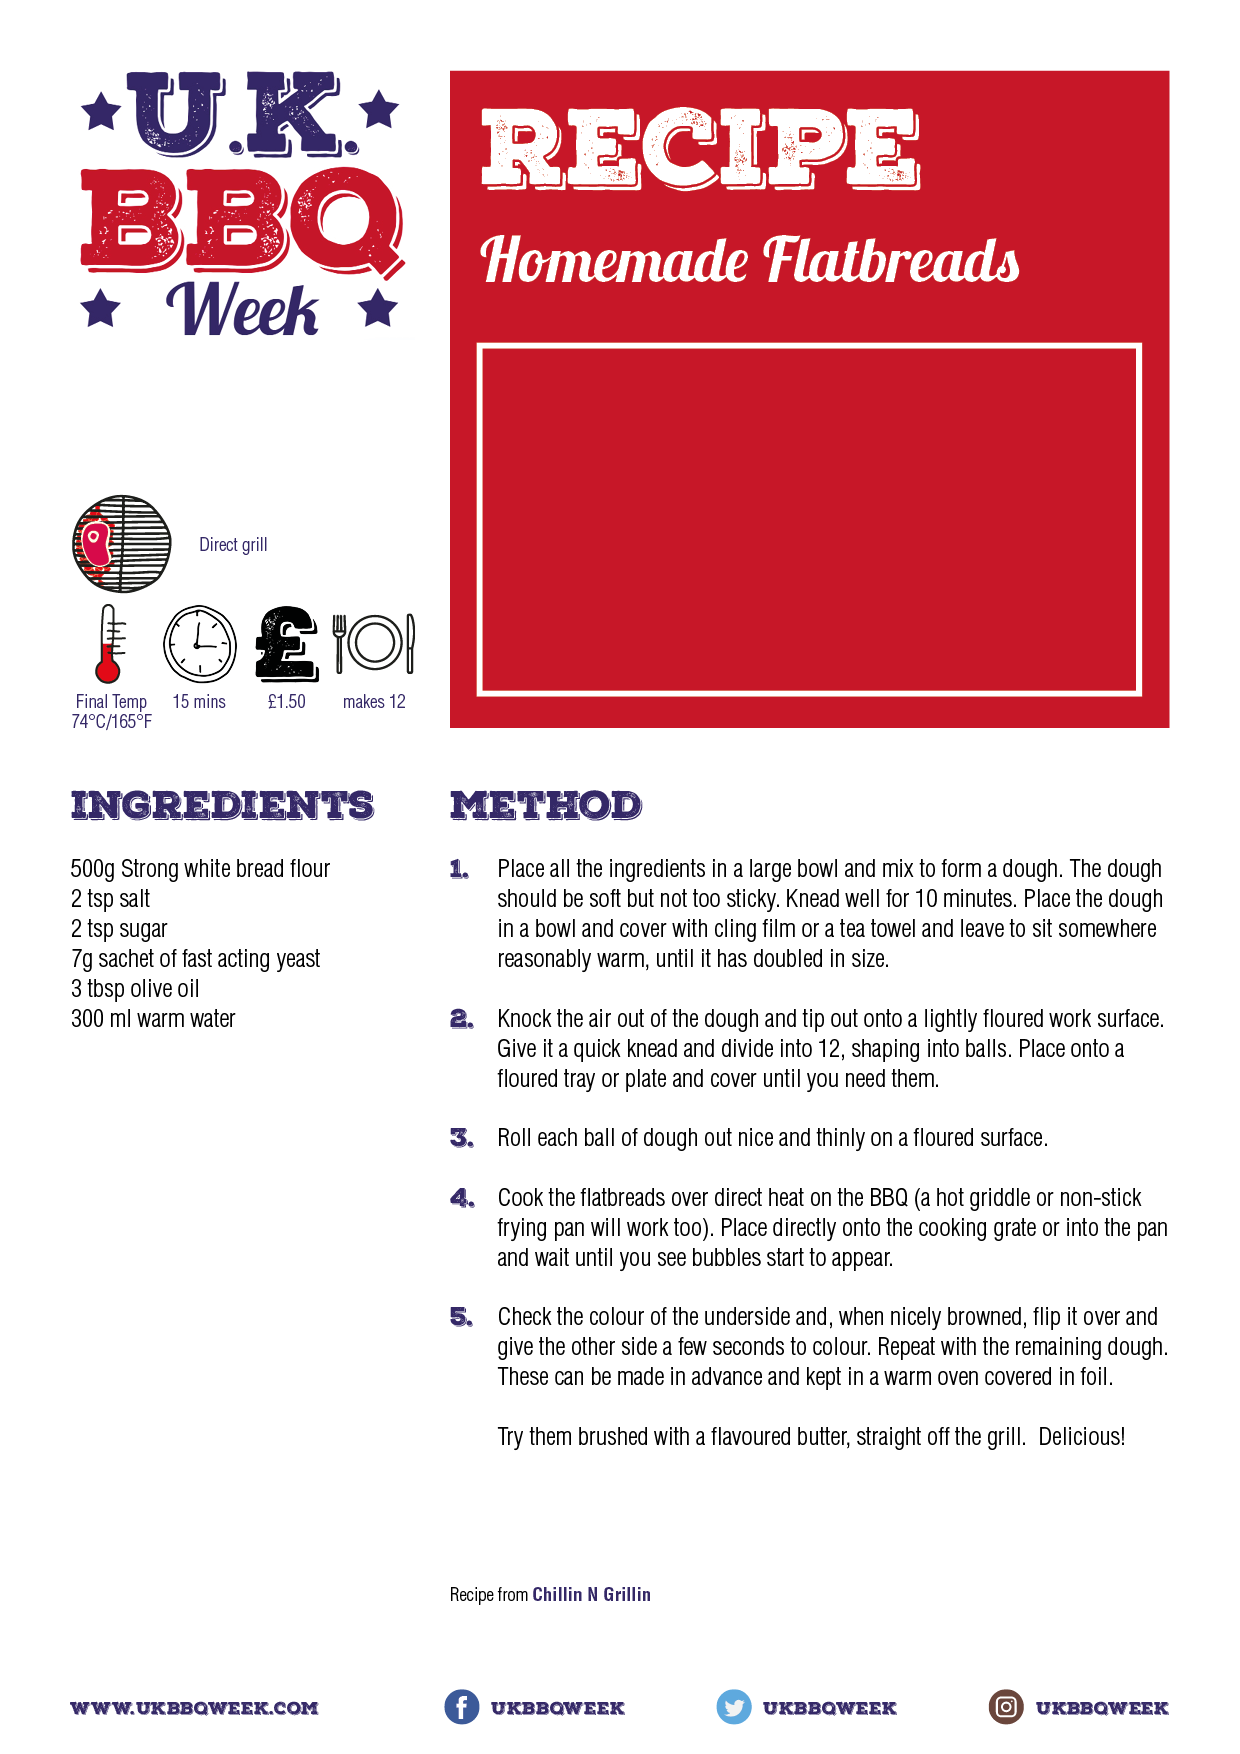
For the flatbreads

  • Makes 12
  • 500g Strong white bread flour
  • 2 tsp salt
  • 2 tsp sugar
  • 7g sachet of fast action yeast
  • 3 tbsp olive oil
  • 300 ml warm water

Method

1

Set up your BBQ either with a rotisserie attachment, as I’ve used, or for indirect cooking at 190-200˚C/370-390˚F

2

Place the chicken in a large bowl and, in a separate bowl, mix the rest of the ingredients together really well.  Don’t worry about the amount of oil.  Its purely there for marinating purposes and won’t all end up in the finished dish.

3

Pour the marinade over the chicken thighs and mix everything together thoroughly.  You want every bit of chicken smothered in the paste.  I like to get my hands in there but I recommend wearing a pair of disposable gloves if you do.

4

Leave to marinade for at least a couple of hours, overnight is best.

5

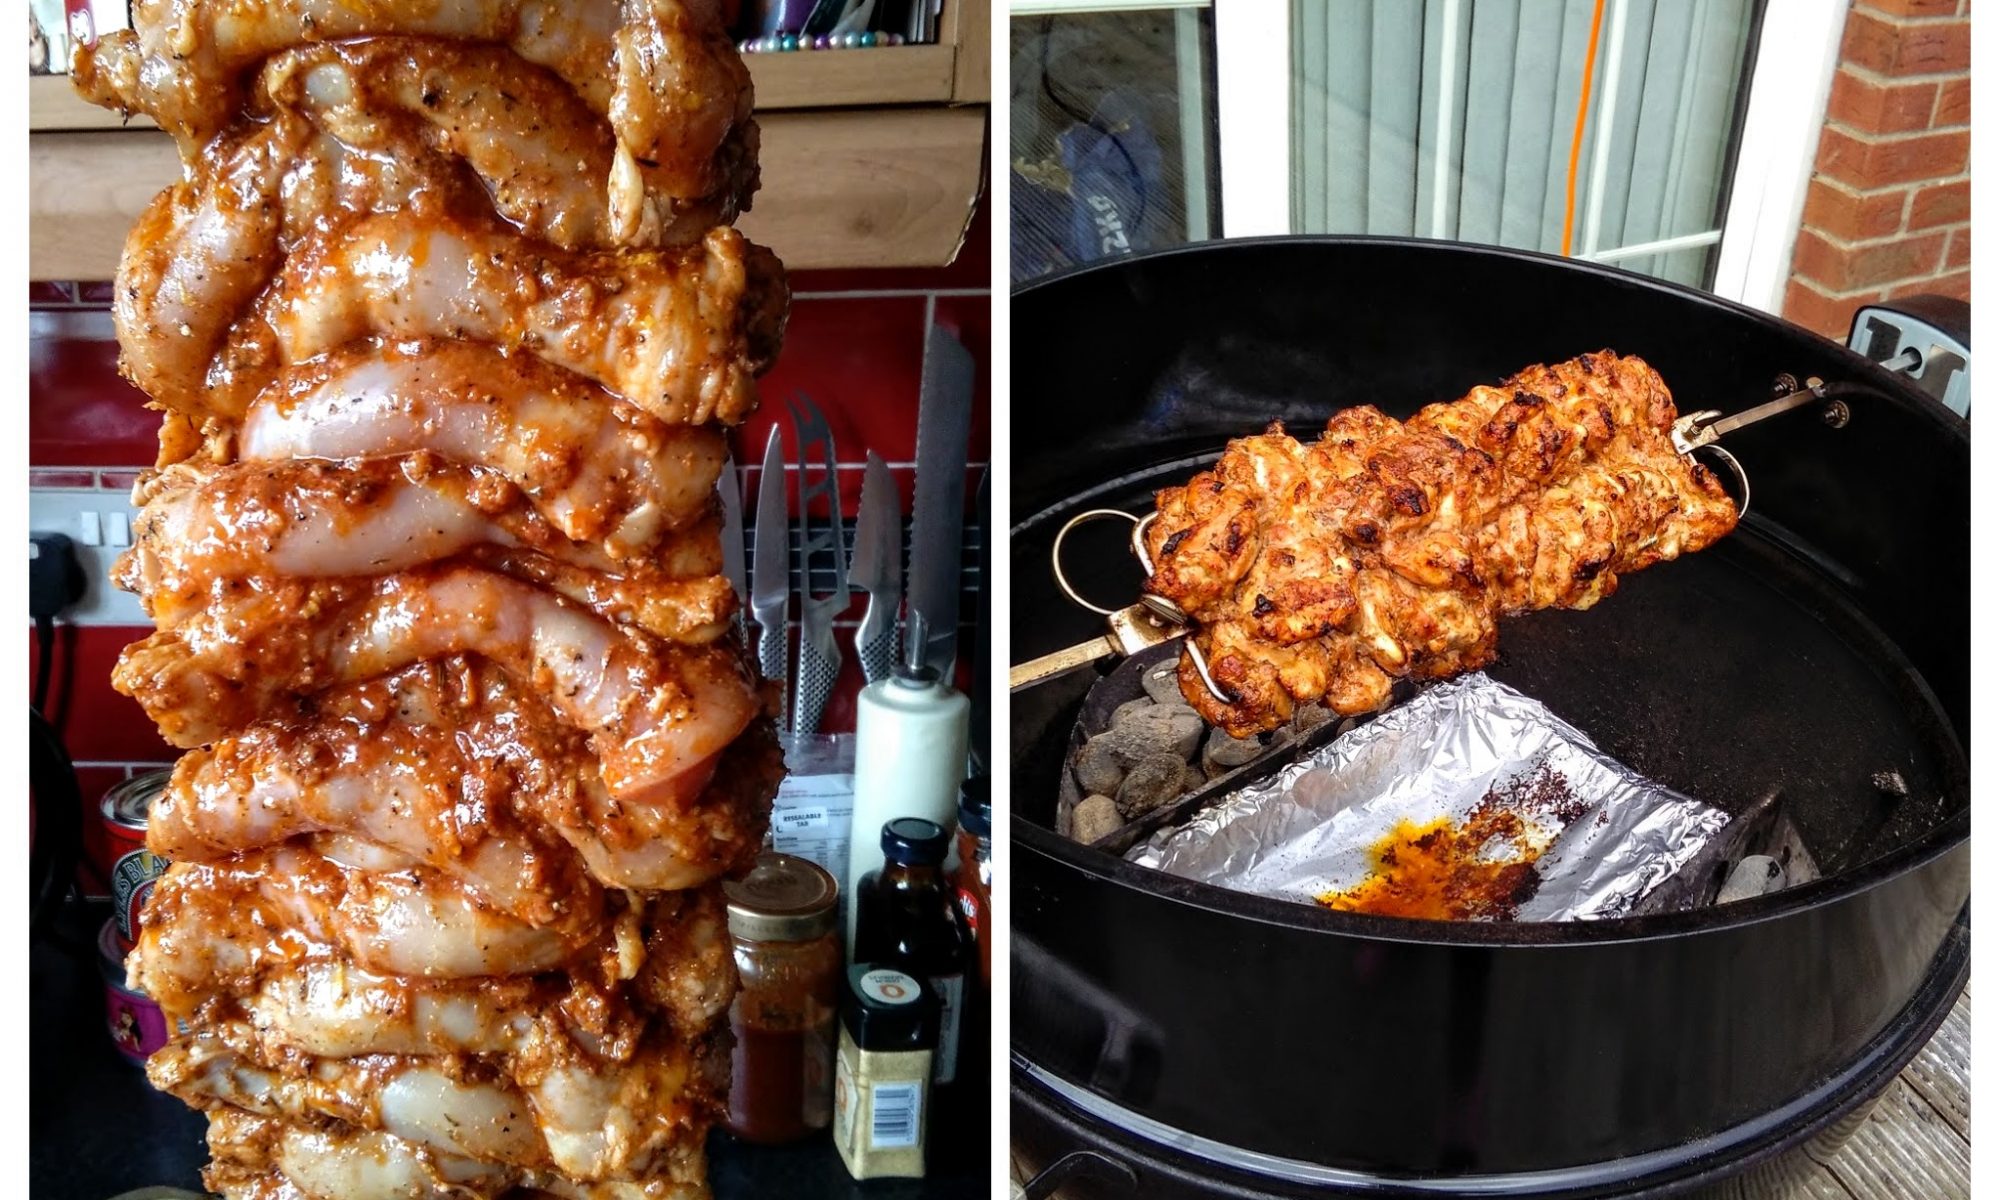
If you have a rotisserie I find that attaching one fork, holding the bar vertically and threading the chicken on from the top works best, so far as having a nicely balanced doner goes.  When all the chicken has been threaded on, slide on the second fork and make sure both are tightened up snugly against the chicken.  I also like to use a bit of ‘scaffolding’, and I take some metal skewers and insert them on each side too.  This stops any stray pieces flopping about while it’s on the rotisserie and keeps it nice and neat.

6

If you’re not using a rotisserie, you’ll need 6 large metal skewers. Take 3 of the skewers and lay them side by side. Thread your chicken onto the skewers so that you have one central skewer and one either side. When all the meat is threaded on, insert the remaining skewers from the opposite end, securing everything together.

7

Now place the chicken on the rotisserie and cook, lid on the BBQ, until the internal temperature reaches 165˚f/74˚C.  It took about 1 hour 45 minutes for this particular cook, however cooking times will vary depending on the size of your chicken thighs.  I usually check it after 1 hour, and every 15 minutes after that.  If you feel it’s browning quicker than you’d like, just wrap a piece of foil loosely around the meat.  You want your chicken cooked all the way through but no over cooked and dry.

8

If using the indirect cooking method on your grill, set the meat on the cool side of the grill and place the lid on.  Turn the doner over every 20 minutes until you achieve the correct internal temperature.  You can finish it off over the coals to get some nice crispy bits.

9

We serve it sliced straight off the spit into homemade flatbreads stuffed with salad and our favourite sauces.  If you fancy making your own flatbreads, the recipe can be found below.

For the flatbreads

10

Place all the ingredients in a large bowl and mix to form a dough.  The dough should be soft but not too sticky.  Kneed well for 10 minutes (I use a stand mixer because I’m lazy).  Place the dough in a bowl and cover with cling film or a tea towel and leave to sit somewhere reasonably warm, like your kitchen, until it has doubled in size.

11

Knock the air out of the dough and tip out onto a lightly floured work surface.  Give it a quick knead and divide into 12, shaping into balls.  Place these onto a floured tray or plate and cover until you need them.

12

I cook my flatbreads over direct heat on the BBQ, but a hot griddle or non-stick frying pan will work too.  Roll each ball of dough out nice and thinly on a floured surface.  Place it directly onto the cooking grate or into the pan and wait until you see bubbles start to appear.

13

Check the colour of the underside and, when nicely browned, flip it over and give the other side a few seconds to colour.  Repeat with the remaining dough and you’re done!  These can be made in advance and kept in a warm oven covered in foil.  I get my daughter to help with making the flat breads.  She’s a bit of an expert now lol.

Try them brushed with a flavoured butter, straight off the grill.  Delicious!

Recipe from Kelly Bramill

Free Recipe Card

Chicken Doner Kebab

Download the free PDF Recipe Card

Free Recipe Card

Flatbreads

Download the free PDF Recipe Card

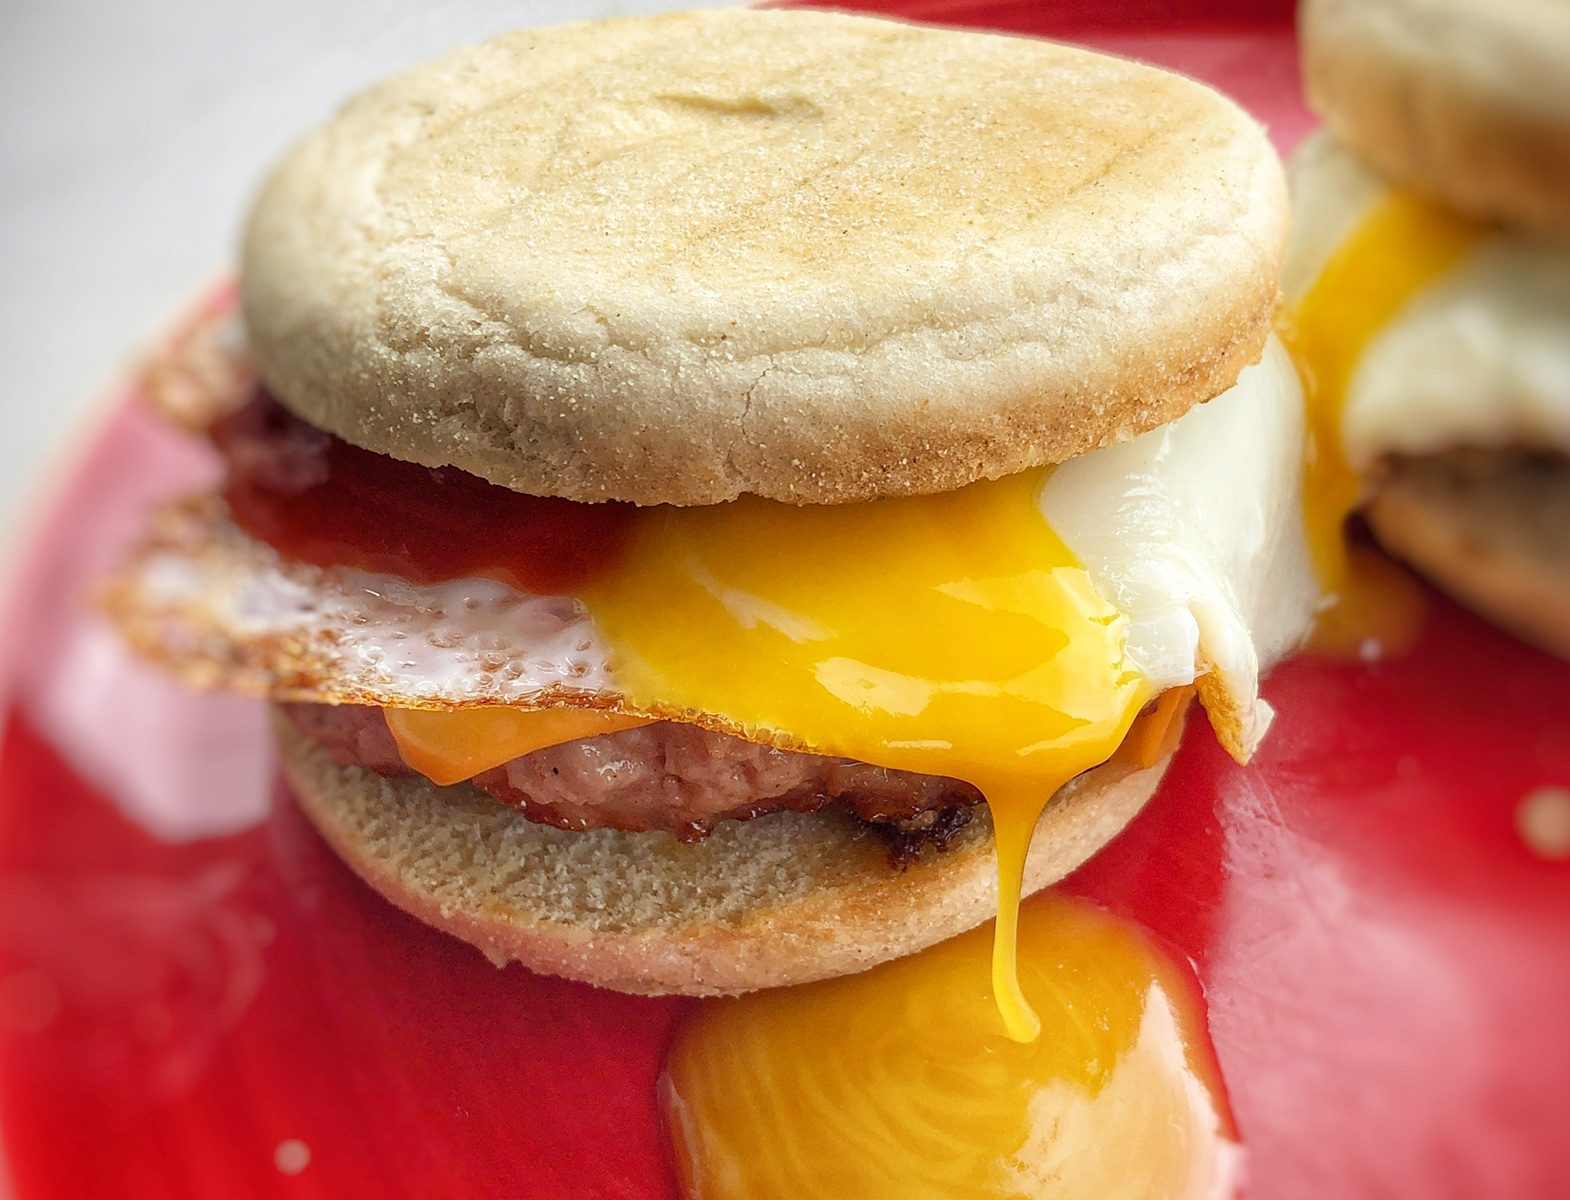
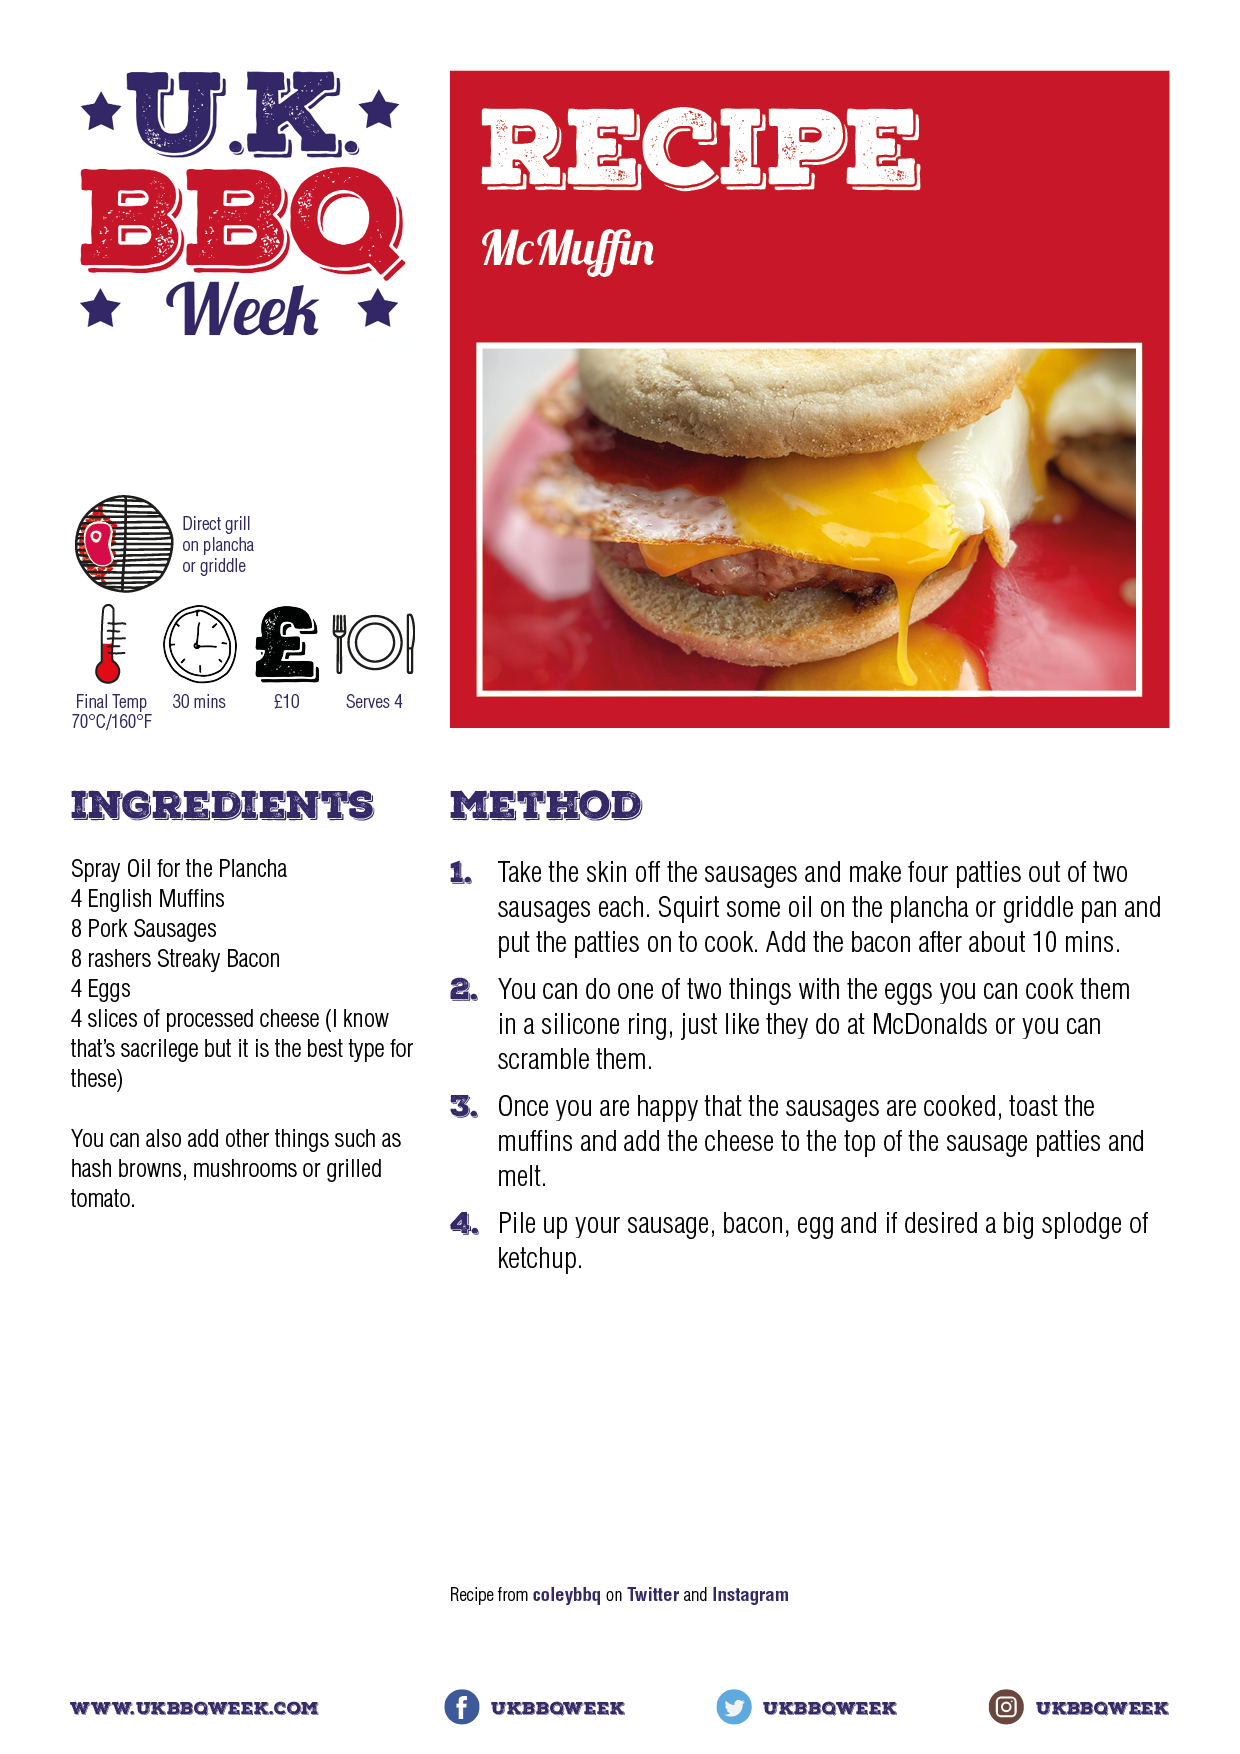
McMuffin

McMuffin

  • Prep Time10 min
  • Cook Time20 min
  • Total Time30 min
  • Yield4 Servings
  • Course
  • Cooking Method
    • Direct on Plancha or Griddle

Ingredients

  • Spray Oil for the Plancha
  • 4 Muffins
  • 8 Pork Sausages
  • 8 rashers Streaky Bacon
  • 4 Eggs
  • 4 slices of processed cheese (I know that’s sacrilege but it is the best type for these)
  • (You can add other things such as hashbrowns or grilled tomato )

Method

1

Take the skin of the sausages and make four patties each containing two sausages. Squirt some oil on the plancha or griddle pan and put the patties on to cook. Add the bacon after about 10 mins.

2

You can do one of two things with the eggs you can cook them in a silicone ring, just like they do at McDonalds or you can scramble them.

3

Once you are happy that the sausages are cooked, toast the muffins and add the cheese to the top of the sausage patties and melt.

4

Pile up your sausage patties, bacon, egg and if desired a big splodge of ketchup

Recipe by Mark Cole :Twitter @Coleybbq, Instagram coleybbq

Free Recipe Card

McMuffin

Download the free PDF Recipe Card

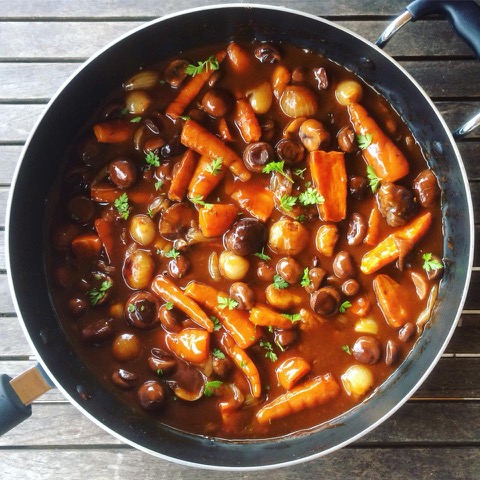
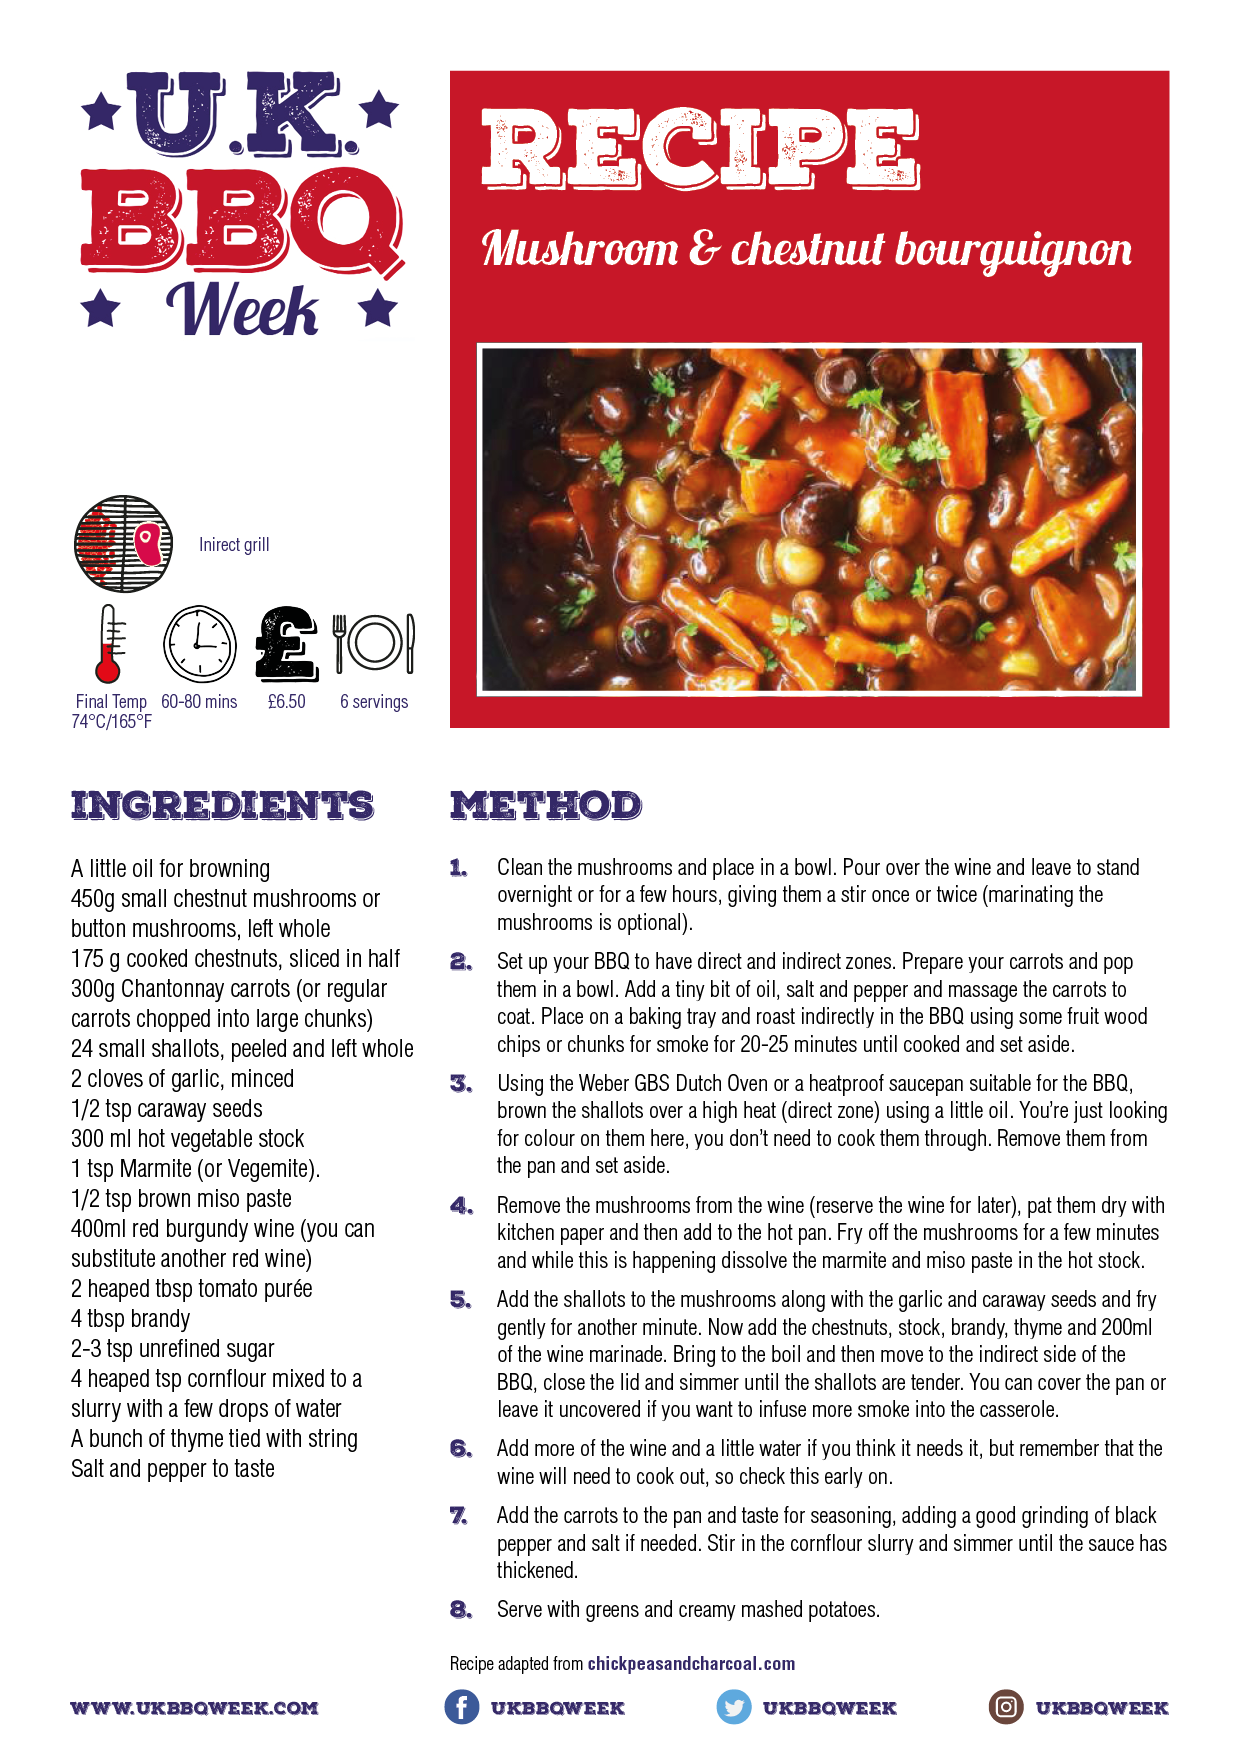
Mushroom and Chestnut Bourguignon

Mushroom and Chestnut Bourguignon

  • Prep Time30 min
  • Cook Time1 hr 20 min
  • Total Time1 hr 50 min
  • Yield6 Servings
  • Course
  • Cooking Method
    • Indirect/Direct in Griddle Pan

Ingredients

  • A little oil for browning
  • 450g small chestnut mushrooms or button mushrooms, left whole
  • 175 g cooked chestnuts, sliced in half
  • 300g Chantonnay carrots (or regular carrots chopped into large chunks)
  • 24 small shallots, peeled and left whole
  • 2 cloves of garlic, minced
  • 1/2 tsp caraway seeds
  • 300 ml hot vegetable stock
  • 1 tsp Marmite (or Vegemite).
  • 1/2 tsp brown miso paste
  • 400ml red burgundy wine (you can substitute another red wine)
  • 2 heaped tbsp tomato purée
  • 4 tbsp brandy
  • 2-3 tsp unrefined sugar
  • 4 heaped tsp cornflour mixed to a slurry with a few drops of water
  • A bunch of thyme tied with string
  • Salt and pepper to taste

Method

1

Clean the mushrooms and place in a bowl. Pour over the wine and leave to stand overnight or for a few hours, giving them a stir once or twice (marinating the mushrooms is optional).

2

Set up your BBQ to have direct and indirect zones. Prepare your carrots and pop them in a bowl. Add a tiny bit of oil, salt and pepper and massage the carrots to coat. Place on a baking tray and roast indirectly in the BBQ using some fruit wood chips or chunks for smoke for 20-25 minutes until cooked and set aside.

3

Using the Weber GBS Dutch Oven or a heatproof saucepan suitable for the BBQ, brown the shallots over a high heat (direct zone) using a little oil. You’re just looking for colour on them here, you don’t need to cook them through. Remove them from the pan and set aside.

4

Remove the mushrooms from the wine (reserve the wine for later), pat them dry with kitchen paper and then add to the hot pan. Fry off the mushrooms for a few minutes and while this is happening dissolve the marmite and miso paste in the hot stock.

5

Add the shallots to the mushrooms along with the garlic and caraway seeds and fry gently for another minute. Now add the chestnuts, stock, brandy, thyme and 200ml of the wine marinade. Bring to the boil and then move to the indirect side of the BBQ, close the lid and simmer until the shallots are tender. You can cover the pan or leave it uncovered if you want to infuse more smoke into the casserole.

6

Add more of the wine and a little water if you think it needs it, but remember that the wine will need to cook out, so check this early on.

7

Add the carrots to the pan and taste for seasoning, adding a good grinding of black pepper and salt if needed. Stir in the cornflour slurry and simmer until the sauce has thickened.

8

Serve with greens and creamy mashed potatoes.

Recipe by Kelly Bramill of Chickpeas and Charcoal

Free Recipe Card

Mushroom and Chestnut Bourguignon

Download the free PDF Recipe Card

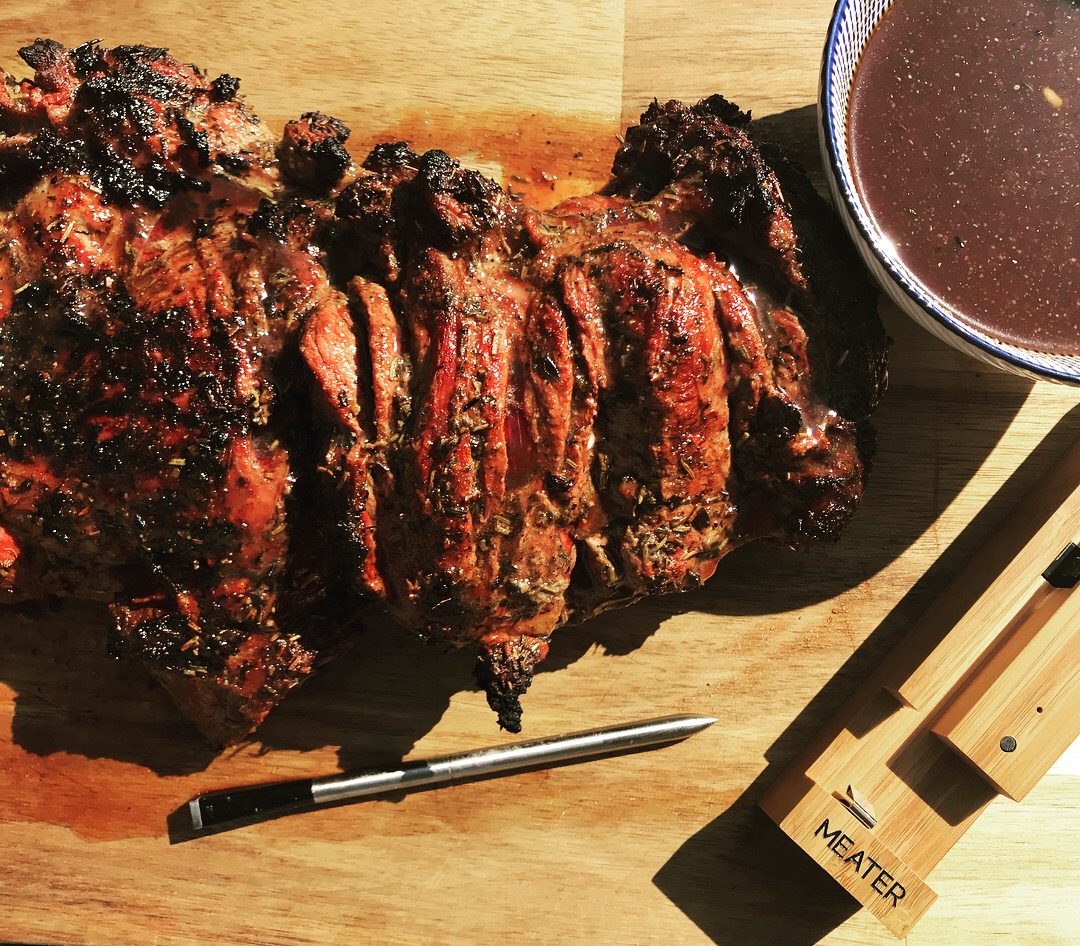
Meater Wireless Thermometer – Review by Paul Niland

When Matt from Meater approached UK BBQ week and asked if anyone would like to try the product I wanted to give it a go.

With the rotisserie, consistency in the setup; the fuel and the weather conditions are all factors that can make or break your Sunday roast or your game changing Turkey during the holidays. When you first start using the rotisserie you tend to increase your cook times or affect the temperature by lifting the lid of your BBQ. What I really needed was a probe with no wires! In comes the Meater “The First Wireless Smart Meat Thermometer”

So how did I get on with it? Overall I liked the product. I have been watching it for a while with anticipation that it would be great for the rotisserie and it was. I found the temperature accuracy to be good, sometimes the same as my Thermapen or 1-2 degrees different. The app was very clear and simple to use and consistent between Apple and Android devices. I found the setup simple (maybe because I work in technology) and using the combination of Bluetooth, WIFI and the Meater Cloud Feature, I found syncing devices worked very well. I did see a few tweets about range so for my setup I used an old IPAD approx. 2m away from the BBQ. My shack is more than 10m from my house, so I knew it would be outside of the Bluetooth range and may have problems if I tried without it. In the future, the mini block should certainly act as the bridge.

Setting up the cooks was very good and simple, though the presets were aimed towards the US market based on USDA guidelines. There were a great deal of support videos on their youtube channel that helped you get started with examples of how to use the product. Being from the UK, I did find these quite Americanised. Also as a BBQ fanatic, I tend to avoid using the oven at all costs so some of these videos did not appeal to me.

Monitoring the cook was very good, I tried a combination of Apple and Android devices and found them to be consistent. Randomly the connection would drop, I could not explain this though it was not frequent enough to affect my cook.

The bit that let me down was the battery, I cooked a whole chicken with some serious smoke and after washing the probe it did not charge too well. You have to give it a serious scrub between cooks to get enough contact for it to charge. There is a little LED battery indicator though I think this was just for the batteries in the block and not relevant to the probe. Also the app does not currently give an indication of how much life is left so if you like your low and slow it can be quite worrying. This in fact did happen to me and I was surprised after a quick 30 min charge I could not resume where I left off.

There has been some concerns in the UK BBQ community regarding the range, and temperature accuracy. I did not see these problems during my cooks though knowing the people who had these problems I believe them to be genuine and I have discussed these with the Meater team.

Overall, would I buy the probe? The short answer is yes. Is it the finished product for the general BBQ market? I will let the community decide as Its possible there are some factors that may affect your experience of using the product. Will there be some improvements? Certainly, speaking with Matt at length about the team, their vision and their approach to improvement, I see this being very good in the future as more people start using it for BBQ and provide their feedback.

If you would like to know more, you can find more information about the probe from the official website https://meater.com

What’s Good

What could be improved

  • Estimated cook time feature – A game changer

  • Temperature accuracy is good

  • Meater Cloud option for syncing devices and viewing temps on the move works well

  • Support for Apple/Android devices

  • Presentation of the app looks great and is simple to use.

  • Combination of Bluetooth and WIFI setup is simple to do.

  • Setting up the cook, naming them and changing temps during was easy to do

  • Customising your preferred settings such as C/F was easy to do.

  • The email, asking for your feedback after each cook is very innovative and great service.

  • Need for an intermediate device for this to be great for BBQ. – This should be the small block.

  • Connections to the device can drop intermittently.

  • If smoke is not scrubbed of the end it does not change too well.

  • The LED Charge light not relevant to the probe, so your not sure if it is charged well enough

  • With no battery life indicator in the app, long cooks are also a bit worrying.

  • When the battery runs out it does not preserve progress especially when the cook was on the cloud.

  • App use quite a lot of battery

  • Although I really like it, the estimated cook time takes a while to show. So you cant really leave a short cook.

  • Alerts can be annoying and re-appear after acknowledging them.

  • Temperate presets are US based

  • Product support videos are US based

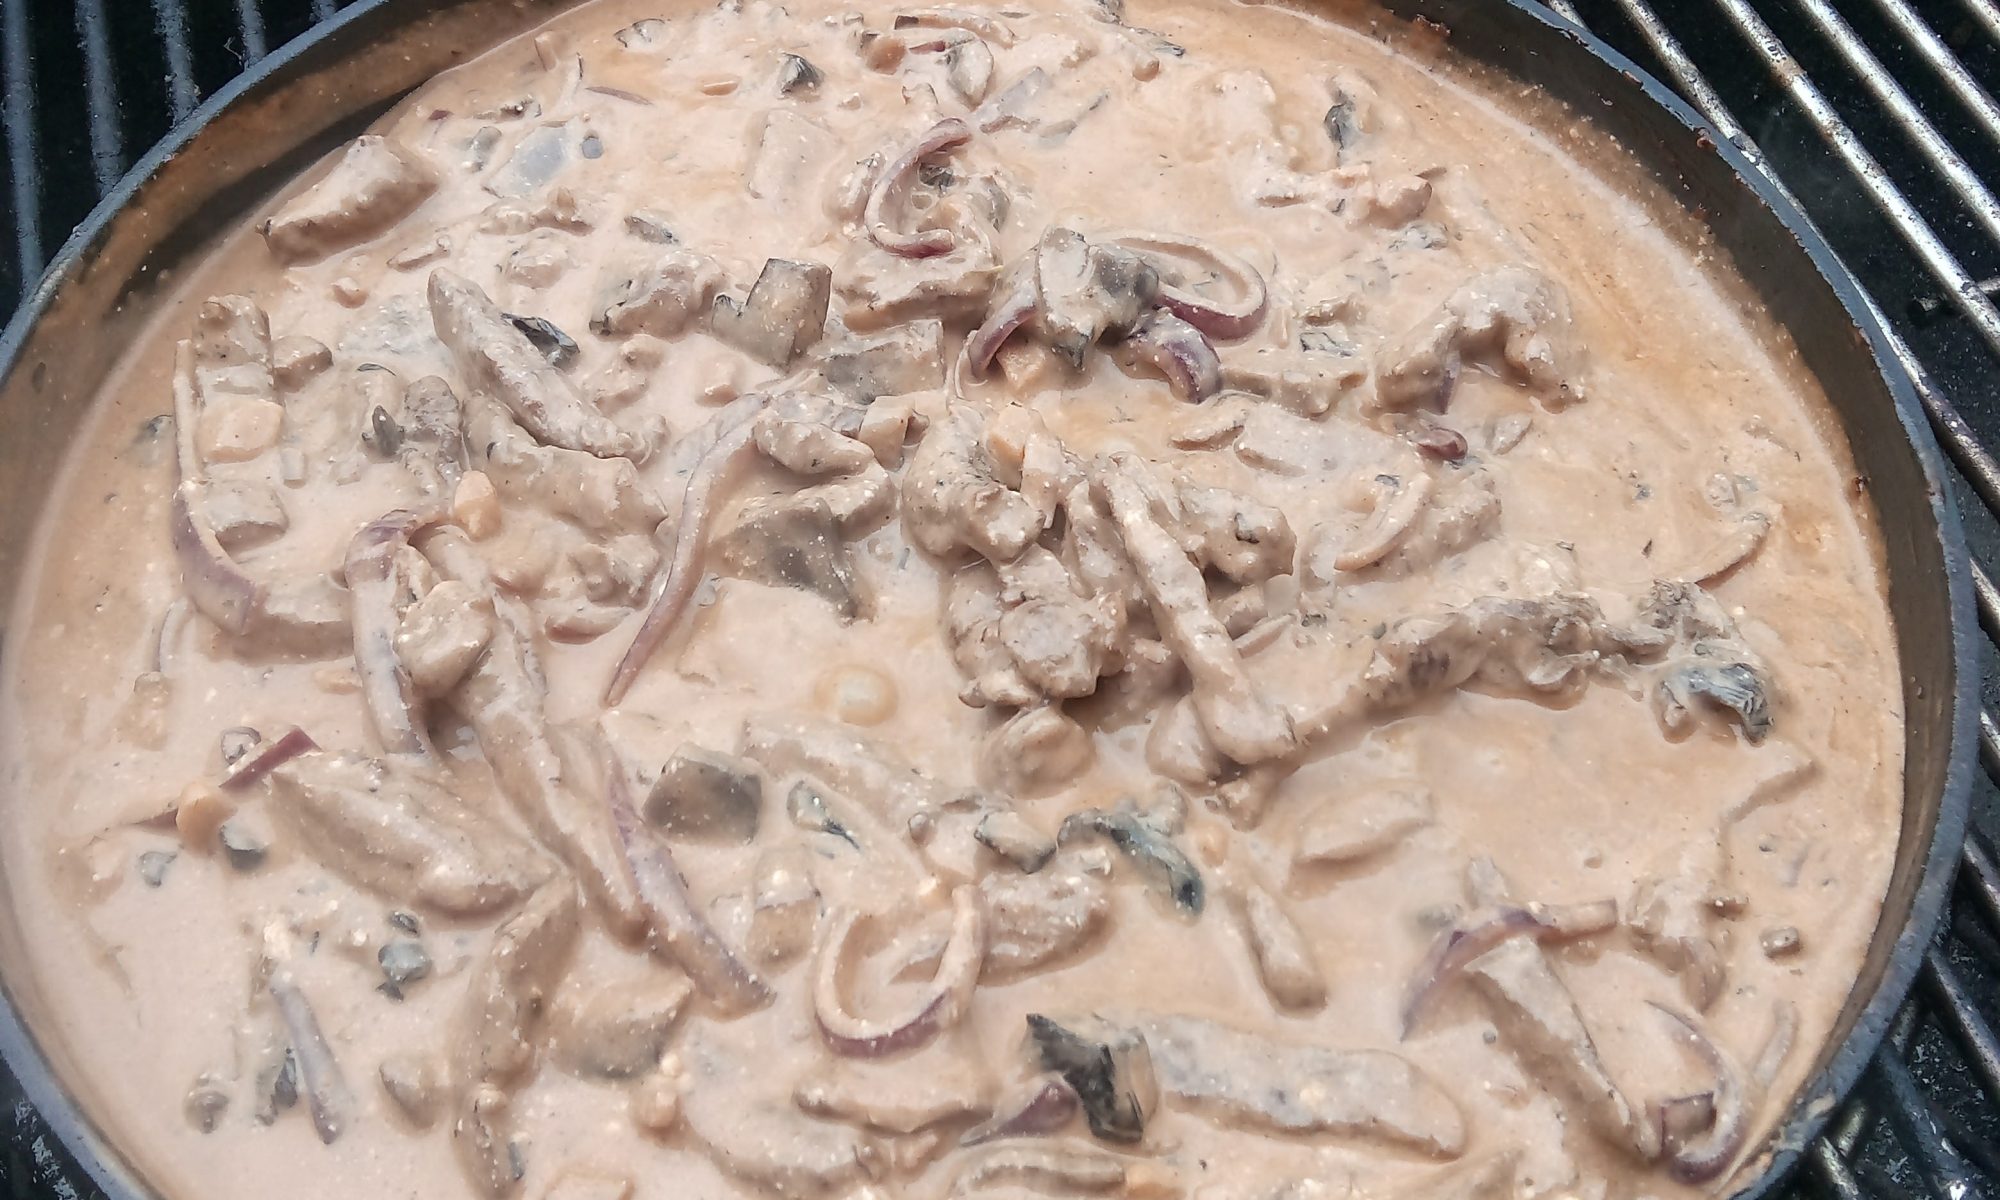
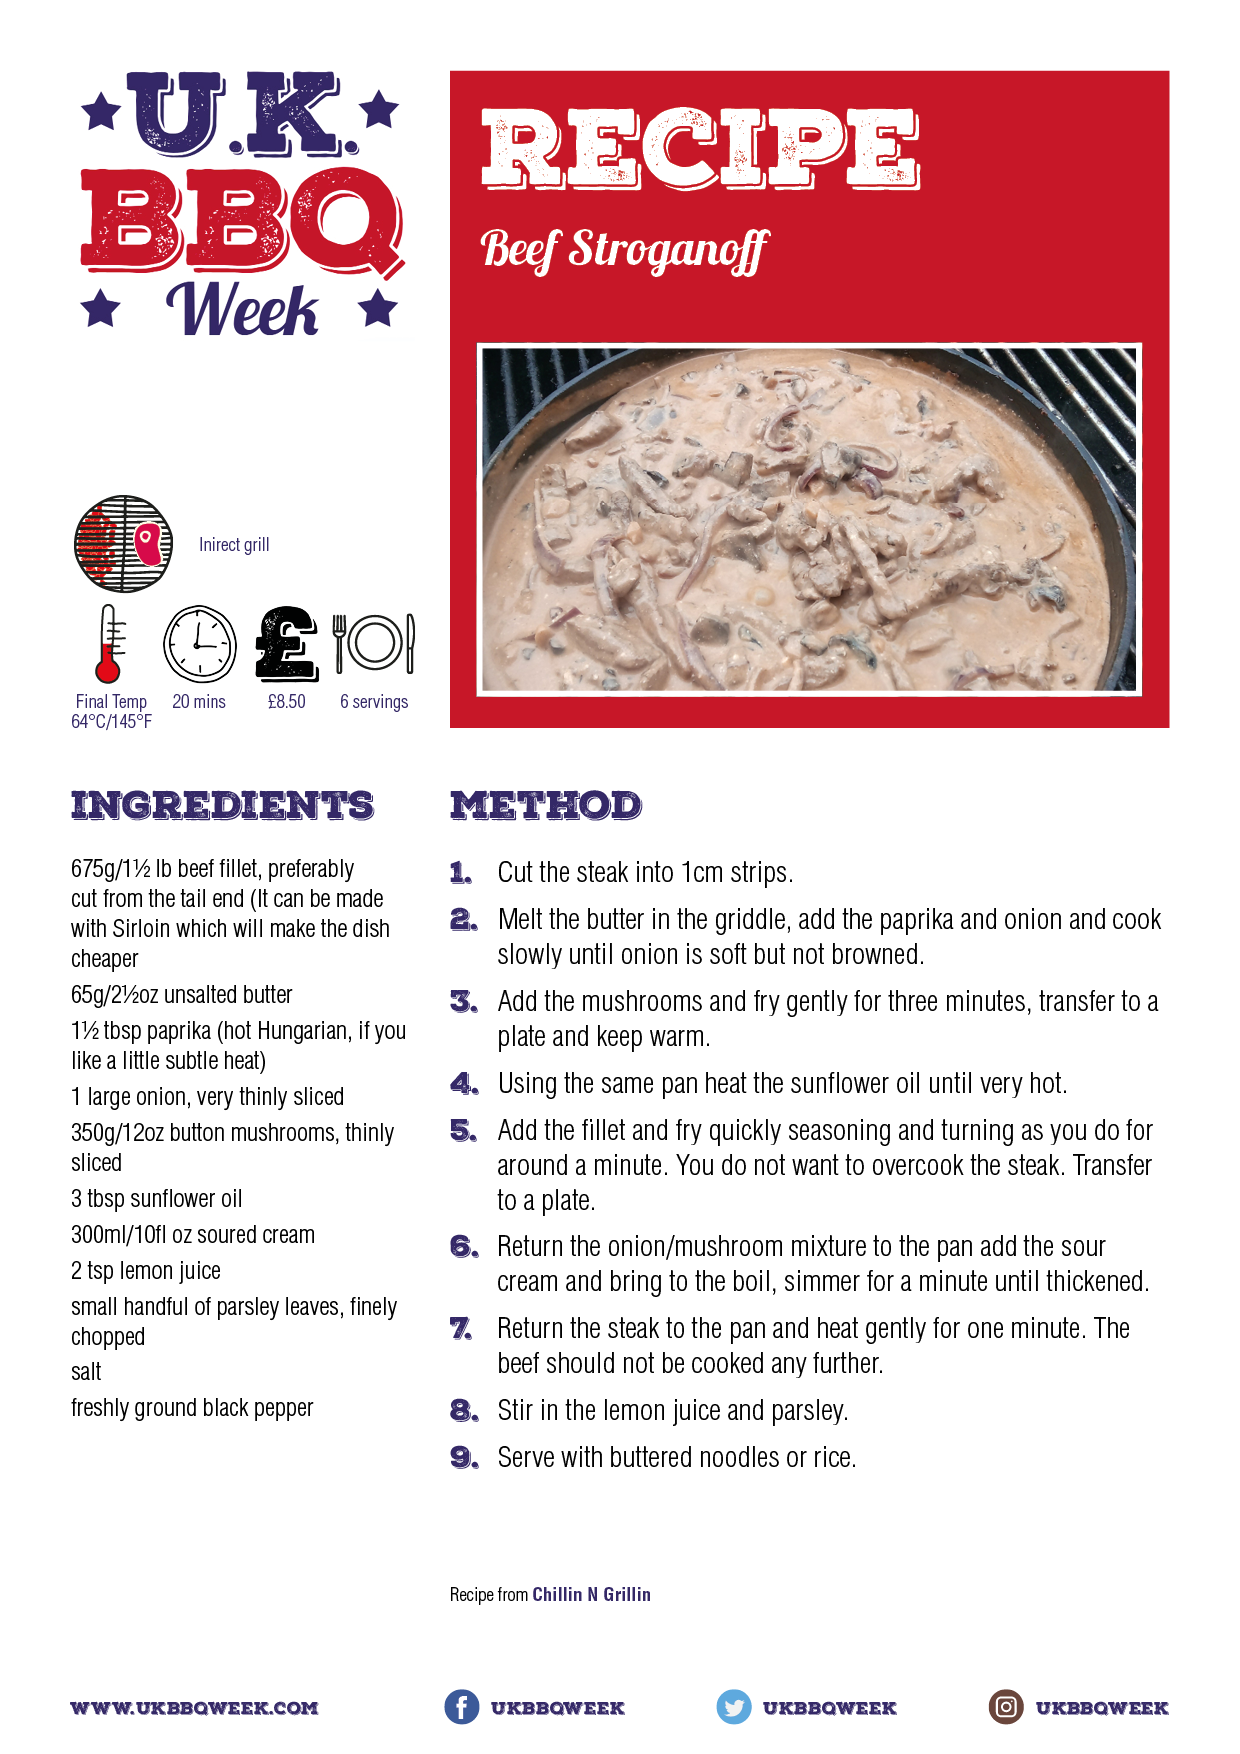
Beef Stroganoff

Beef Stroganoff

  • Prep Time10 min
  • Cook Time30 min
  • Total Time40 min
  • Yield4 Servings

Ingredients

  • 675g/1½ lb beef fillet, preferably cut from the tail end (It can be made with Sirloin which will make the dish cheaper
  • 65g/2½oz unsalted butter
  • 1½ tbsp paprika (hot Hungarian, if you like a little subtle heat)
  • 1 large onion, very thinly sliced
  • 350g/12oz button mushrooms, thinly sliced
  • 3 tbsp sunflower oil
  • 300ml/10fl oz soured cream
  • 2 tsp lemon juice
  • small handful of parsley leaves, finely chopped
  • salt
  • freshly ground black pepper

Method

1

Cut the steak into 1cm strips

2

Melt the butter in the griddle, add the paprika and onion and cook slowly until onion is soft but not browned.

3

Add the mushrooms and fry gently for three minutes, transfer to a plate and keep warm.

4

Using the same pan heat the sunflower oil until very hot

5

Add the fillet and fry quickly seasoning and turning as you do for around a minute. You do not want to overcook the steak. Transfer to a plate.

6

Return the onion/mushroom mixture to the pan add the sour cream and bring to the boil, simmer for a minute until thickened

7

Return the steak to the pan and heat gently for one minute. The beef should not be cooked any further.

8

Stir in the lemon juice and parsley

9

Serve with buttered noodles or rice

Recipe by Christine Dale of Chillin n’ Grillin

Free Recipe Card

Beef Stroganoff

Download the free PDF Recipe Card

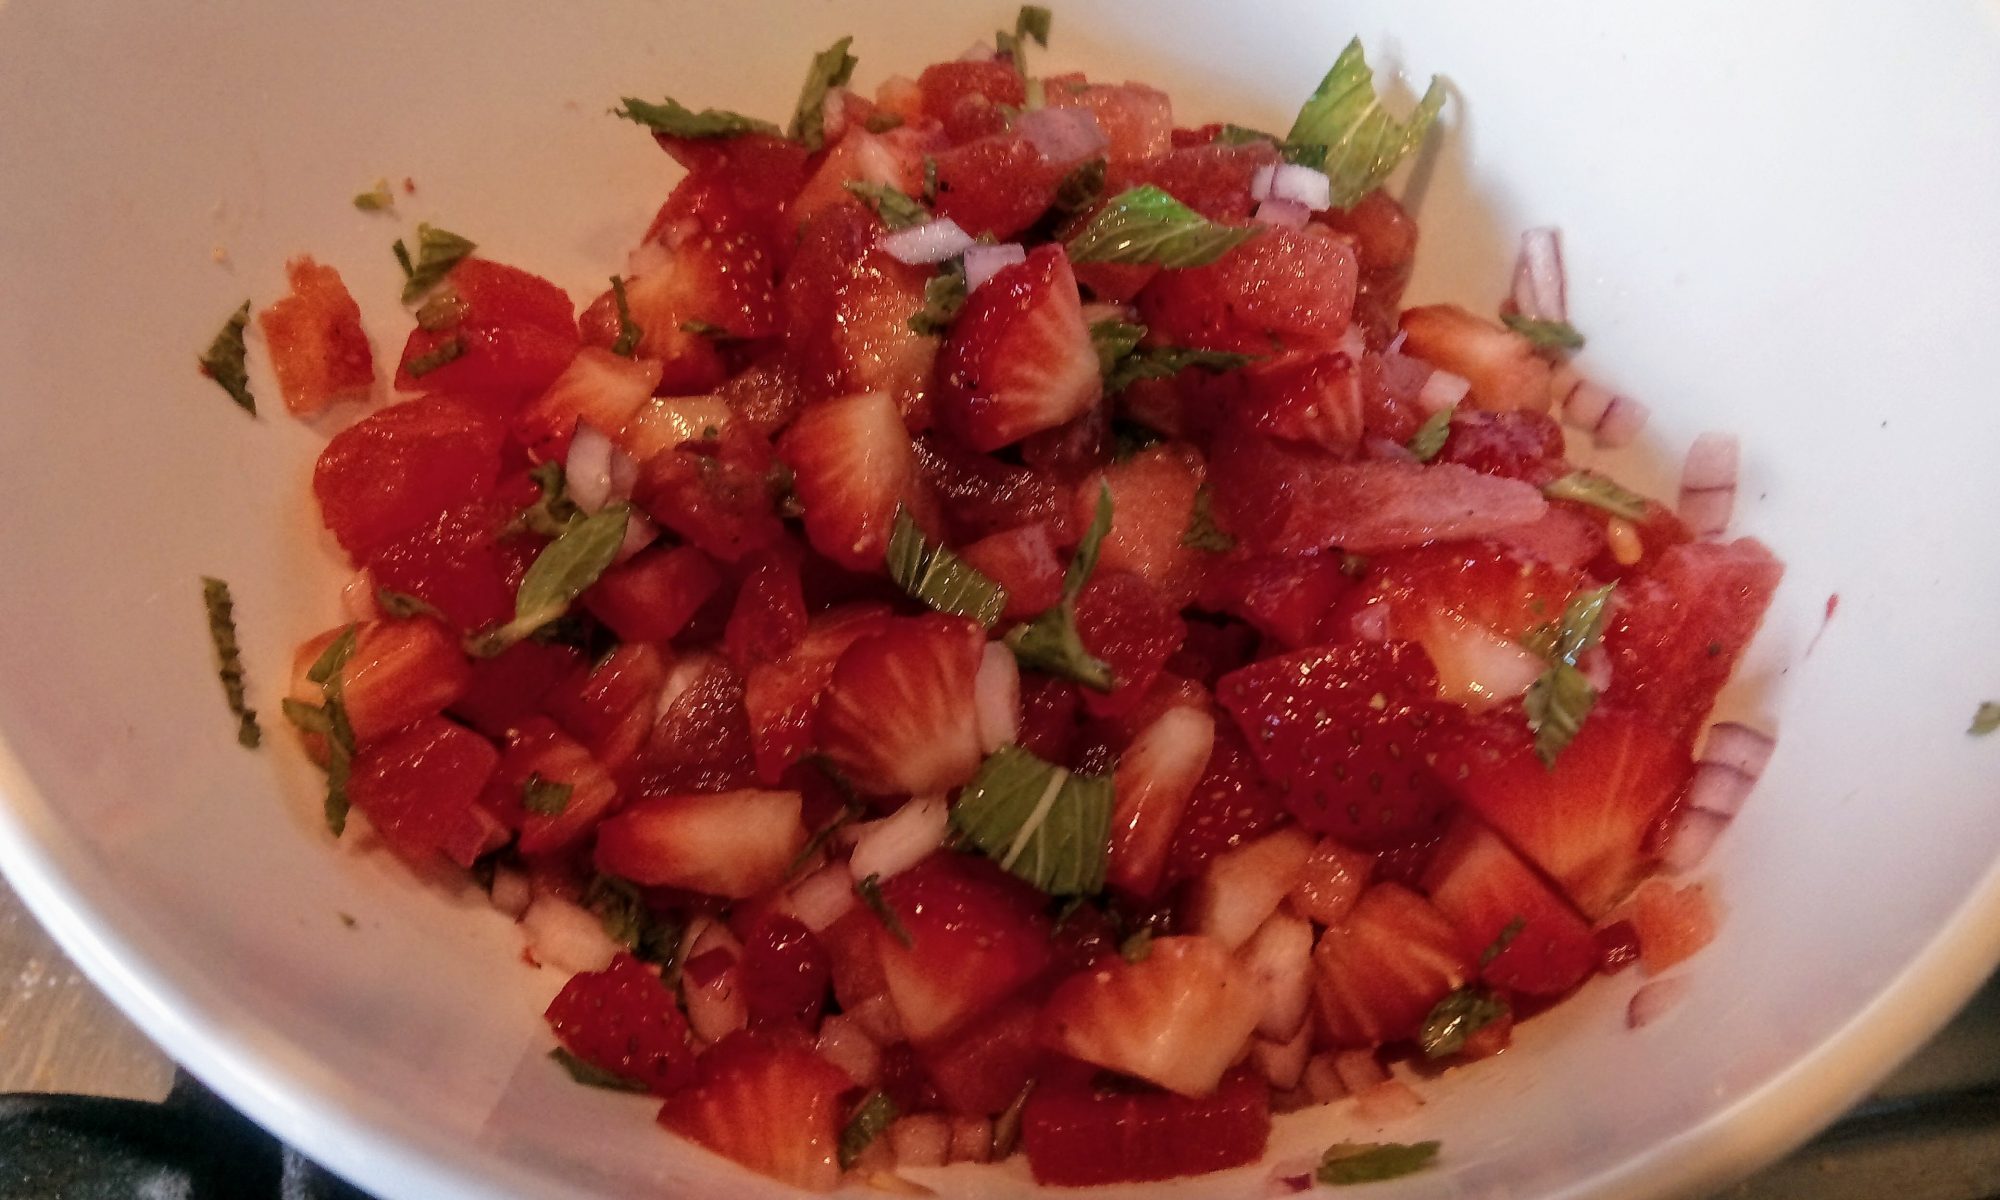
Watermelon and Strawberry Salsa

Watermelon and Strawberry Salsa

  • Prep Time10 min
  • Cook Time5 min
  • Total Time15 min
  • Yield4 Servings
  • Cooking Method
    • In-Direct and Reverse Sear

Ingredients

  • 1cup diced watermelon, seeds removed
  • ¾ cup diced strawberries
  • ¼ cup of diced red onion
  • 2tbs chopped fresh mint leaves
  • 1 tbs diced jalapeno chilli
  • 1 tbs lime juice
  • 1 tsp honey or balsamic vinegar
  • S&P to taste

Method

1

Mix all ingredients together and allow to sit for at least an hour to allow the flavours to meld

Recipe from Christine Dale from Chillin n' Grillin

A perfect accompaniment to our BBQ Jerk Chicken

Free Recipe Card

Watermelon and Strawberry Salsa

Download the free PDF Recipe Card

Show Buttons
Hide Buttons