Salmon is a delicate fish, so cooking on a plank such as maple or cedar keeps it from falling apart and helps to not overcook it, and you can add extra flavours, such as the lemon and marjoram herbs.
This recipe is from CountryWoodSmokes very own Marcus Bawdon and was kindly supplied by BBQ Magazine, the quarterly print magazine for everyone – beginners, enthusiasts and pit masters.
Check out their details below the recipe
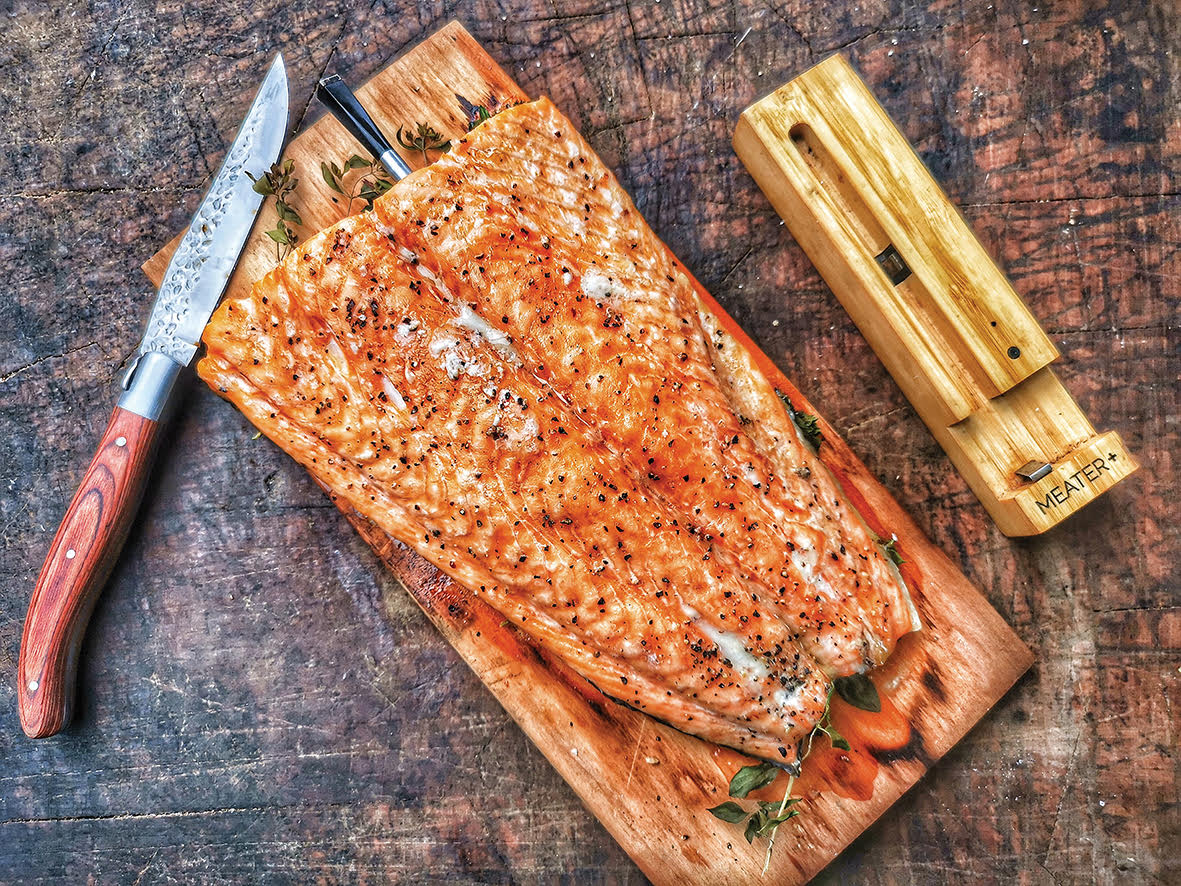
Planked Salmon in a Wood-fired Oven
Ingredients
- 1 fillet side of salmon
- Salt and pepper to season
- 1 lemon cut into thin slices
- 1 handful of marjoram/oregano or lemon thyme
- 3 tbsp maple syrup
Method
I set the wood fired oven for retained heat cooking at around 180°C and used the Meater+ to make sure the salmon fillet reached 55°C to ensure it was cooked perfectly moist.
Place the herbs and half the lemon slices on to the plank, followed by the salmon fillet. I went for simple salt and pepper on the salmon fillet, and brushed with a little maple syrup halfway through the cook.
Total cooking time is about 25 to 30 minutes.The resulting salmon is delicious, tender, juicy, smoky and slightly sweet.
![]() BBQ is a magazine devoted to fire, food & outdoor living – a quarterly print publication for the global barbecue community. You’ll find us in butchers, farm shops and garden centres. We celebrate the best live fire restaurants, pubs and hotels and we’ll be there at festivals and events.
BBQ is a magazine devoted to fire, food & outdoor living – a quarterly print publication for the global barbecue community. You’ll find us in butchers, farm shops and garden centres. We celebrate the best live fire restaurants, pubs and hotels and we’ll be there at festivals and events.


 LIVE FIRE: Seasonal Barbecue Recipes and Stories of Live Fire Traditions Old and New by Helen Graves (Hardie Grant, £26) Photography: Rob Billington