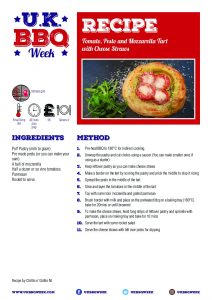
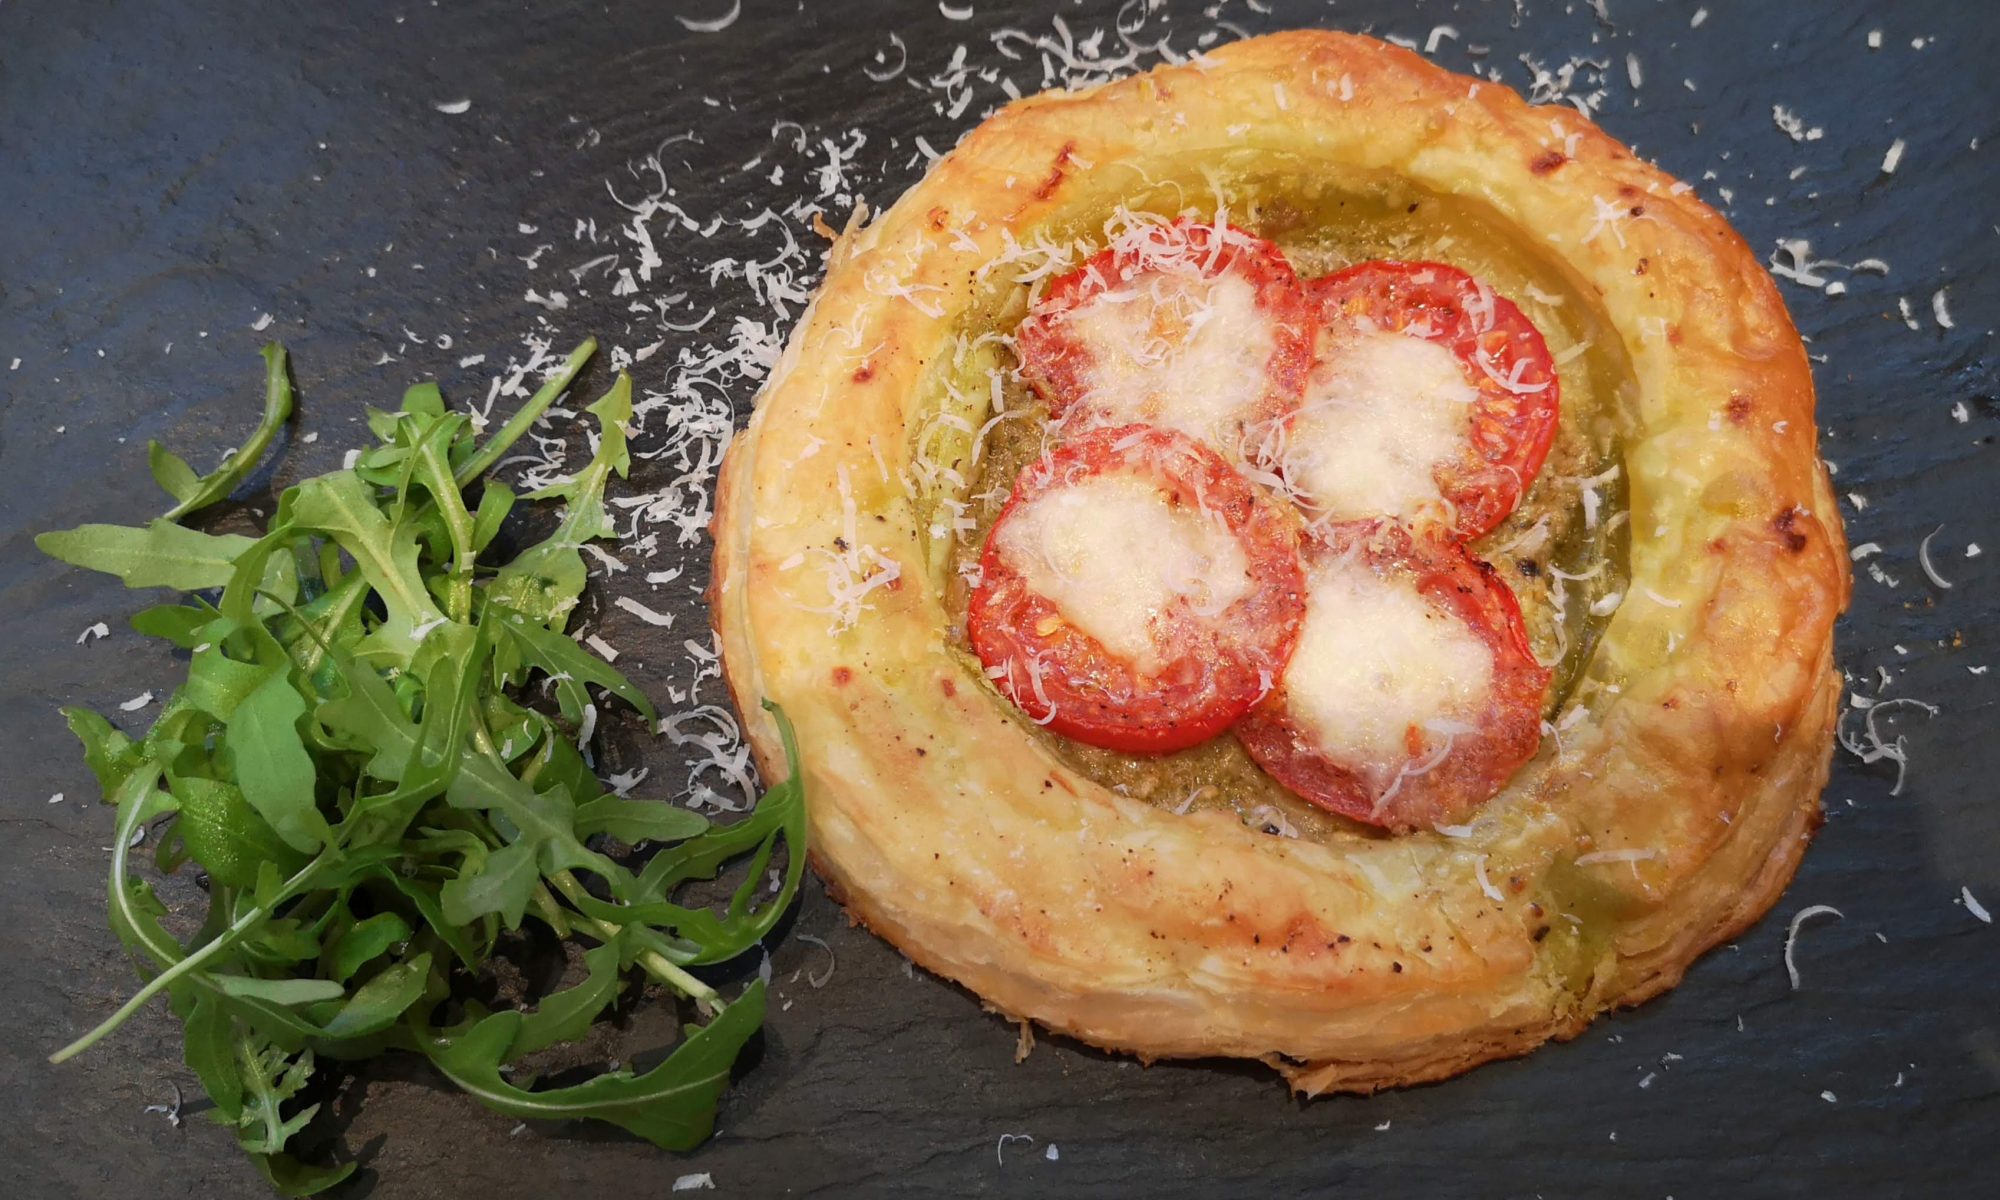
Tomato, Pesto and Mozzarella Tart

This is an easy recipe and makes for a tasty meat free lunch or a starter for a dinner party. You’ll also have enough pastry left to make cheese straws.

Tomato, Pesto and Mozzarella Tart

  • Prep Time20 min
  • Cook Time20 min
  • Total Time40 min
  • Yield4 Servings

Ingredients

  • Puff Pastry (milk to glaze)
  • Pre made pesto (or you can make your own)
  • A ball of mozzerella
  • Half a dozen or so vine tomatoes
  • Parmesan
  • Rocket to serve

Method

1

Pre-heat BBQ to 180°C for indirect cooking.

2

Unwrap the pastry and cut circles using a saucer (You can make smaller ones if using as a starter)

3

Keep leftover pastry as you can make cheese straws

4

Make a border on the tart by scoring the pastry and prick the middle to stop it rising

5

Spread the pesto in the middle of the tart

6

Slice and layer the tomatoes in the middle of the tart

7

Top with some torn mozzarella and grated parmesan

8

Brush border with milk and place on the preheated bbq on a baking tray (180°C) bake for 20mins or until browned

9

To make the cheese straws, twist long strips of leftover pastry and sprinkle with parmesan, place on making tray and bake for 10 mins

10

Serve the tart with some rocket salad

11

Serve the cheese straws with left over pesto for dipping

Free Recipe Card

Tomato, Pesto and Mozzarella Tart

Download the free PDF Recipe Card

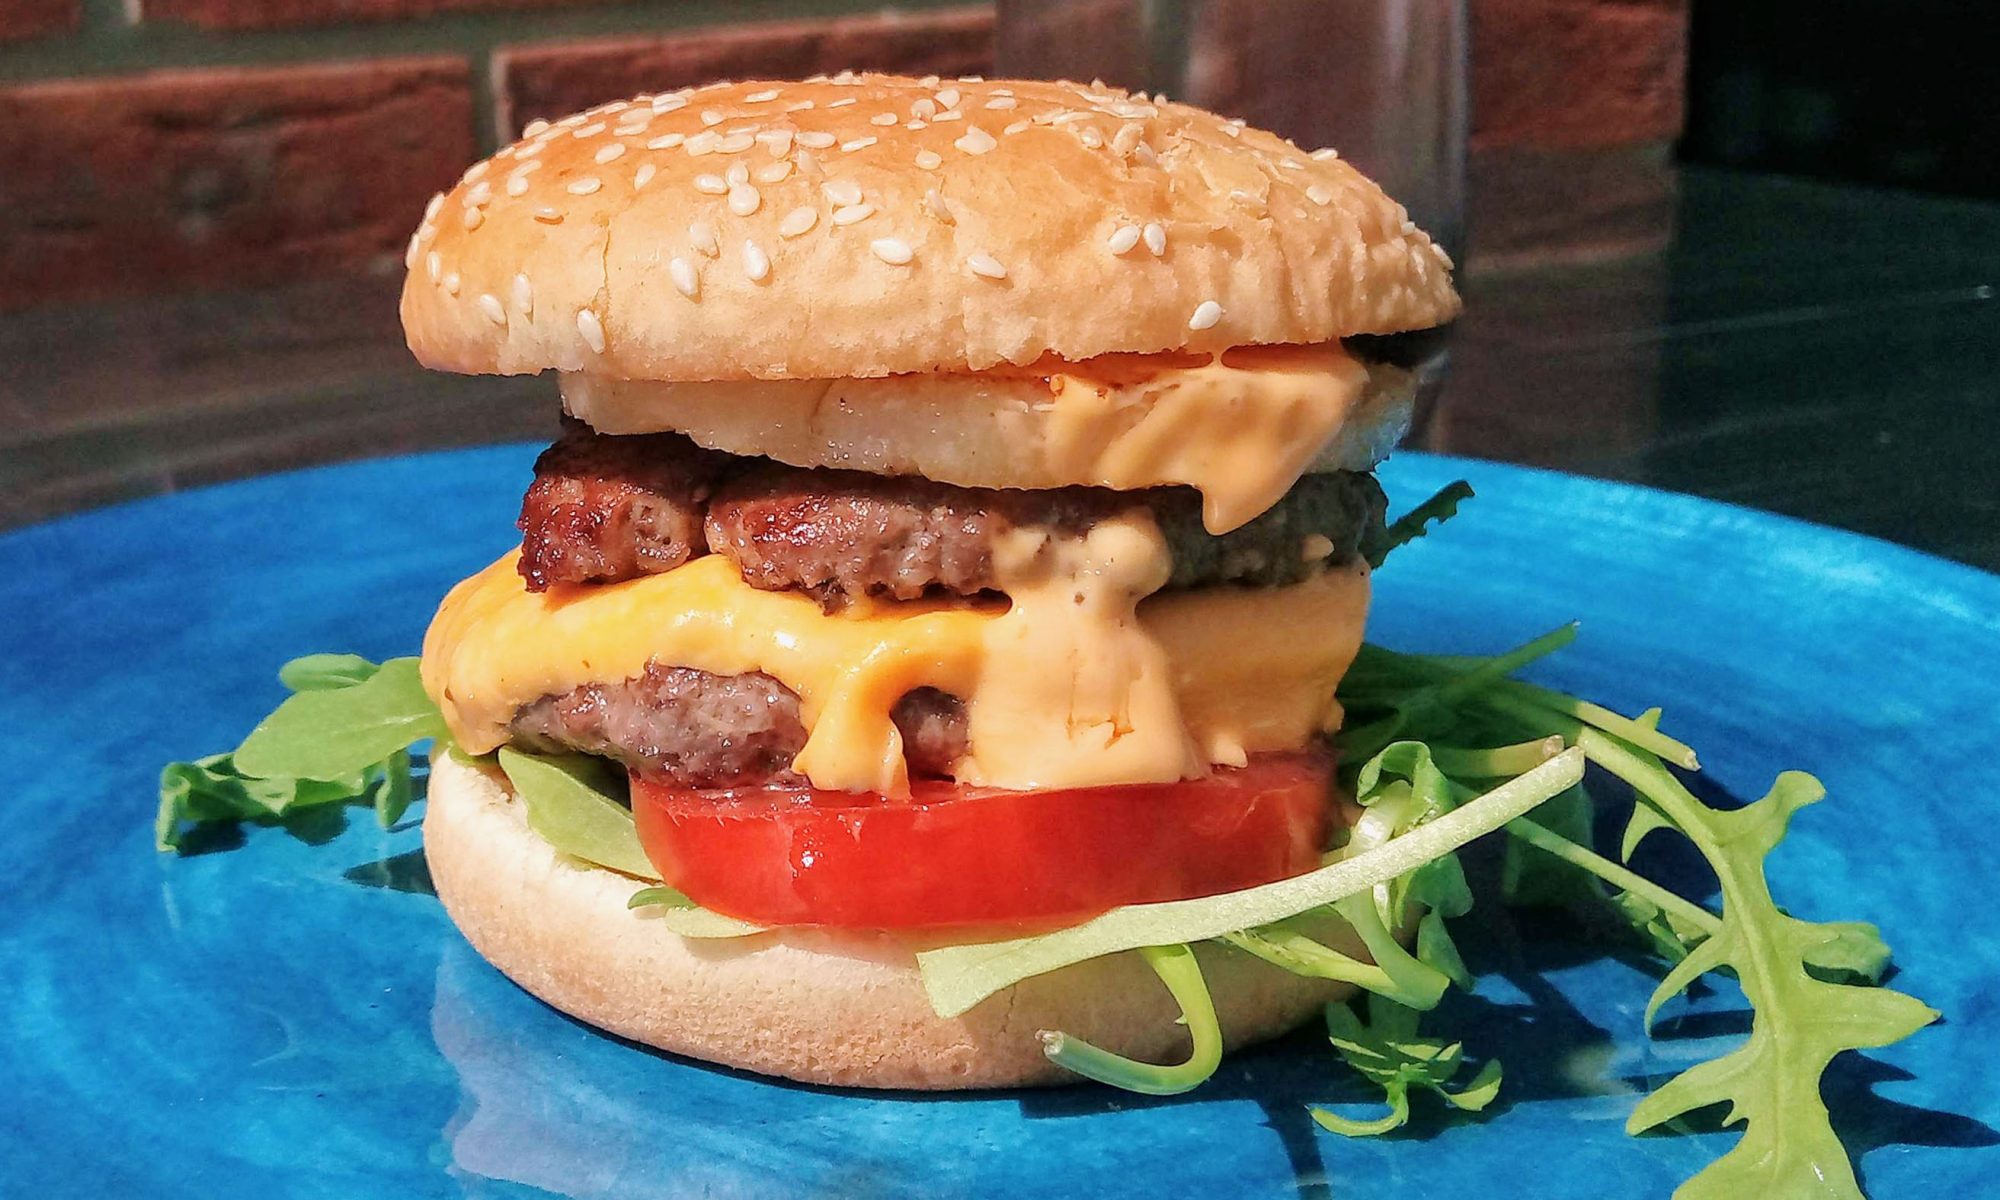
Hawaiian Smash Burger

Hawaiian Smash Burger

  • Prep Time15 min
  • Cook Time10 min
  • Total Time25 min
  • Yield2 Servings

Ingredients

  • 2 Brioche Rolls
  • Lettuce
  • Beef Tomato
  • Pineapple (Optional)
  • 2 cheese slices (We used Jarlsberg this time)
  • Onions
  • Pickles or gherkins

Method

1

Light the BBQ and put the coals in the middle, leaving a circle round the edge with no coals (this makes sure you have a cool zone)

2

Put the plancha on and heat until hot.

3

Spray a little oil on the surface of the plancha and on the smasher

4

Put the four balls of mince on, season, smash and cook till juices start bubbling.

5

Flip, put the cheese on and cover with a cloche, you can choose double or single cheese. (adding a splash of water under your cloche will melt the cheese quicker)

6

While the burgers are cooking, toast the buns, this adds flavour and helps prevent them falling apart when you load them up.

7

Load them up and tuck in

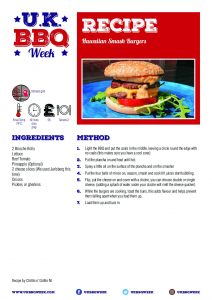
Free Recipe Card

Hawaiian Smash Burger

Download the free PDF Recipe Card

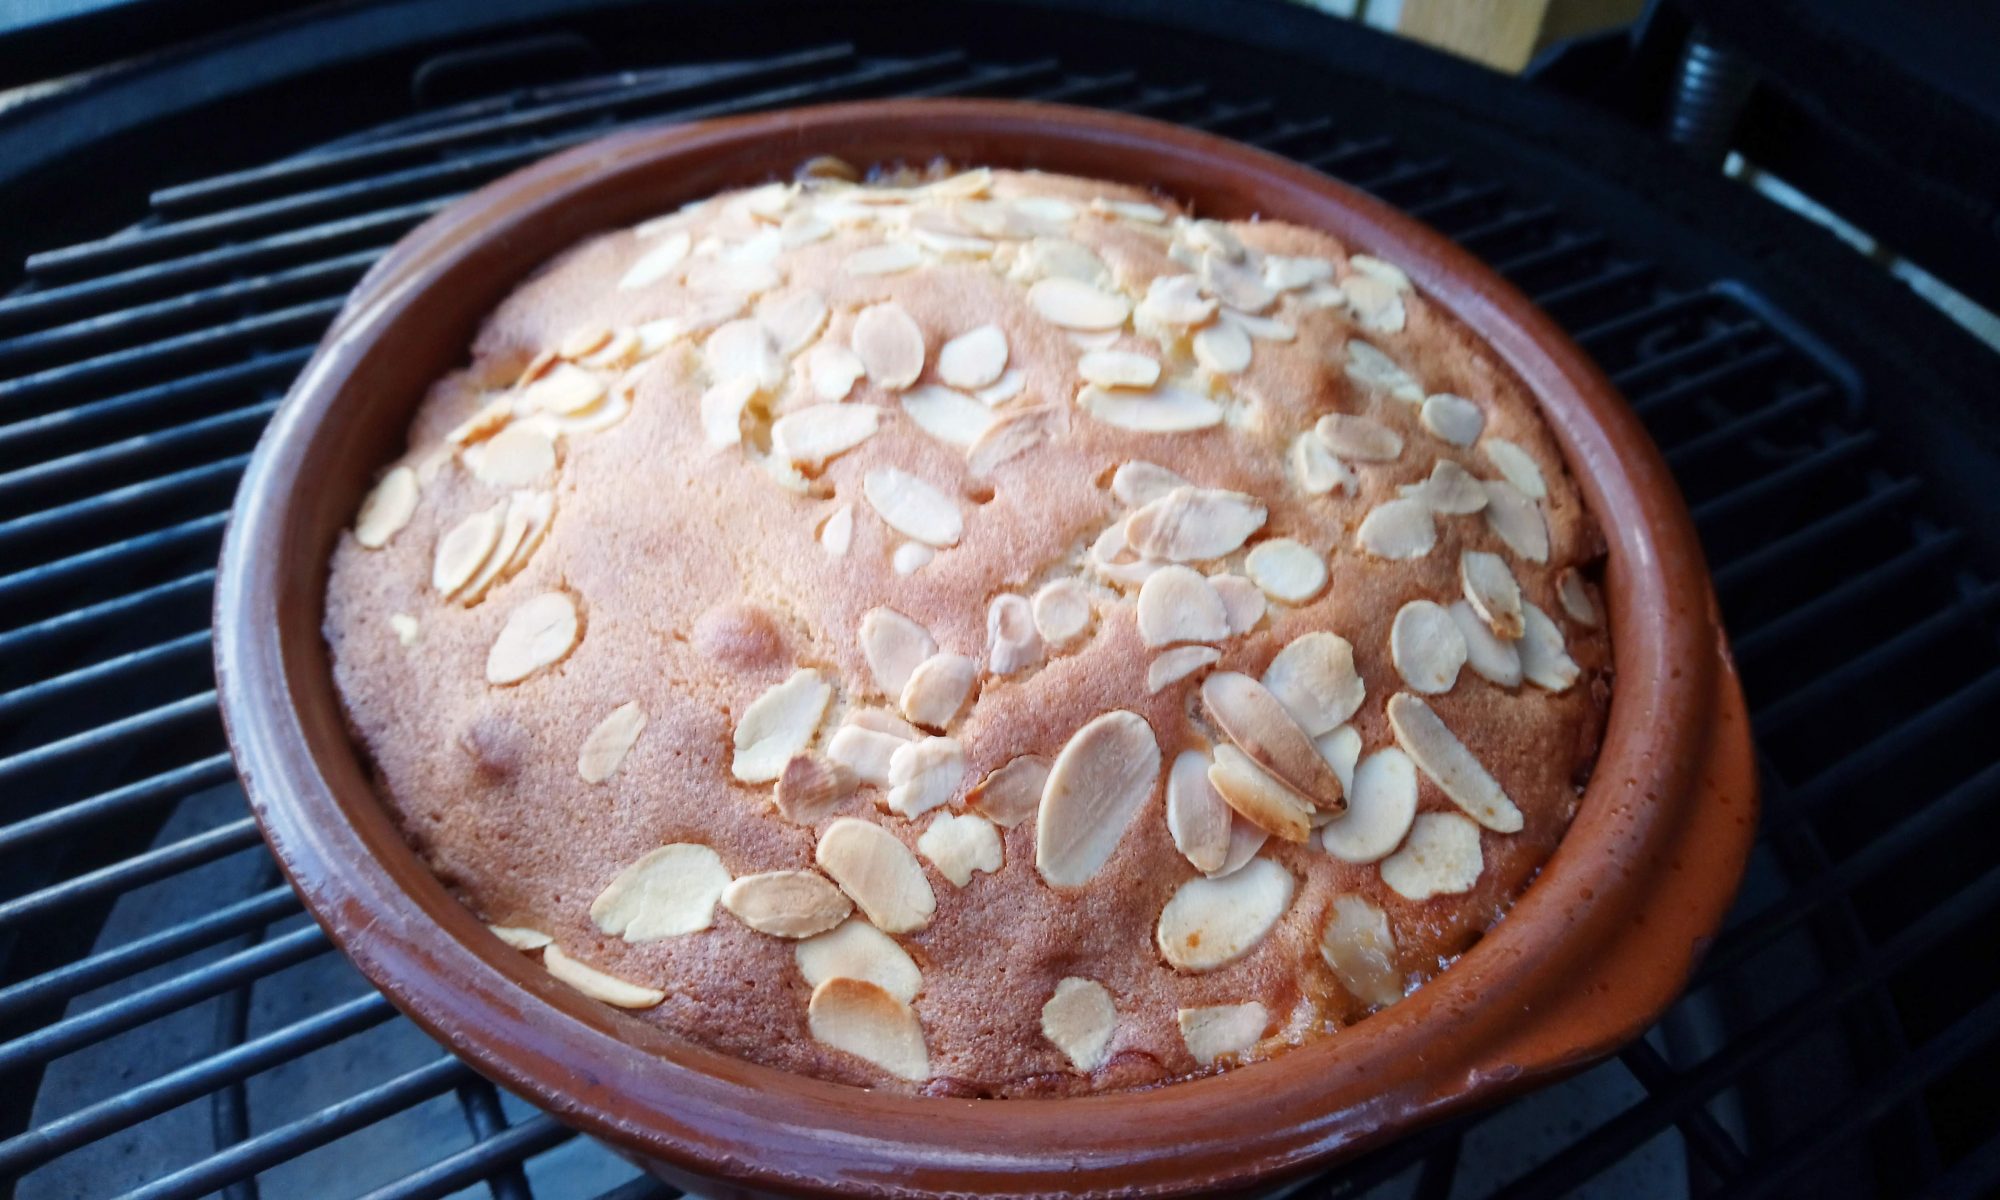
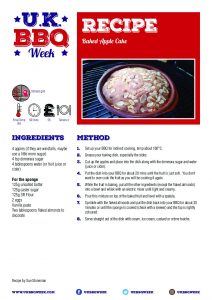
Baked Apple Cake

Heres another lovely dessert recipe by Sue Stoneman This is a similar cake to what I remember as an Eve’s pudding, where you have lightly stewed (baked) fruit on the bottom with sponge on the top.  This would work well with any fruit, try it with pears, nectarines or peaches. I used a deep terracotta dish about 20cm diameter.

Baked Apple Cake

  • Prep Time20 min
  • Cook Time1 hr
  • Total Time1 hr 20 min
  • Yield4 Servings
  • Course
  • Cooking Method
    • In-Direct

Ingredients

  • 4 apples (if they are windfalls, maybe use a little more sugar)
  • 4 tsp demerara sugar
  • 4 tablespoons water (or fruit juice or cider)

For the sponge

  • 125g unsalted butter
  • 125g caster sugar
  • 125g SR Flour
  • 2 eggs
  • Vanilla paste
  • Two tablespoons flaked almonds to decorate

Method

1

Set up your BBQ for indirect cooking, temp about 160°C.

2

Grease your baking dish, especially the sides.

3

Cut up the apples and place into the dish along with the demerara sugar and water (juice or cider).

4

Put the dish into your BBQ for about 20 mins until the fruit is just soft.  You don’t want to over cook the fruit as you will be cooking it again.

5

While the fruit is baking, put all the other ingredients (except the flaked almonds) into a bowl and whisk with an electric mixer until light and creamy.

6

Pour this mixture on top of the baked fruit and level with a spatula.

7

Sprinkle with the flaked almonds and put the dish back into your BBQ for about 30 minutes or until the sponge is cooked (check with a skewer) and the top is lightly coloured.

8

Serve straight out of the dish with cream, ice cream, custard or crème fraiche.

Free Recipe Card

Baked Apple Cake

Download the free PDF Recipe Card

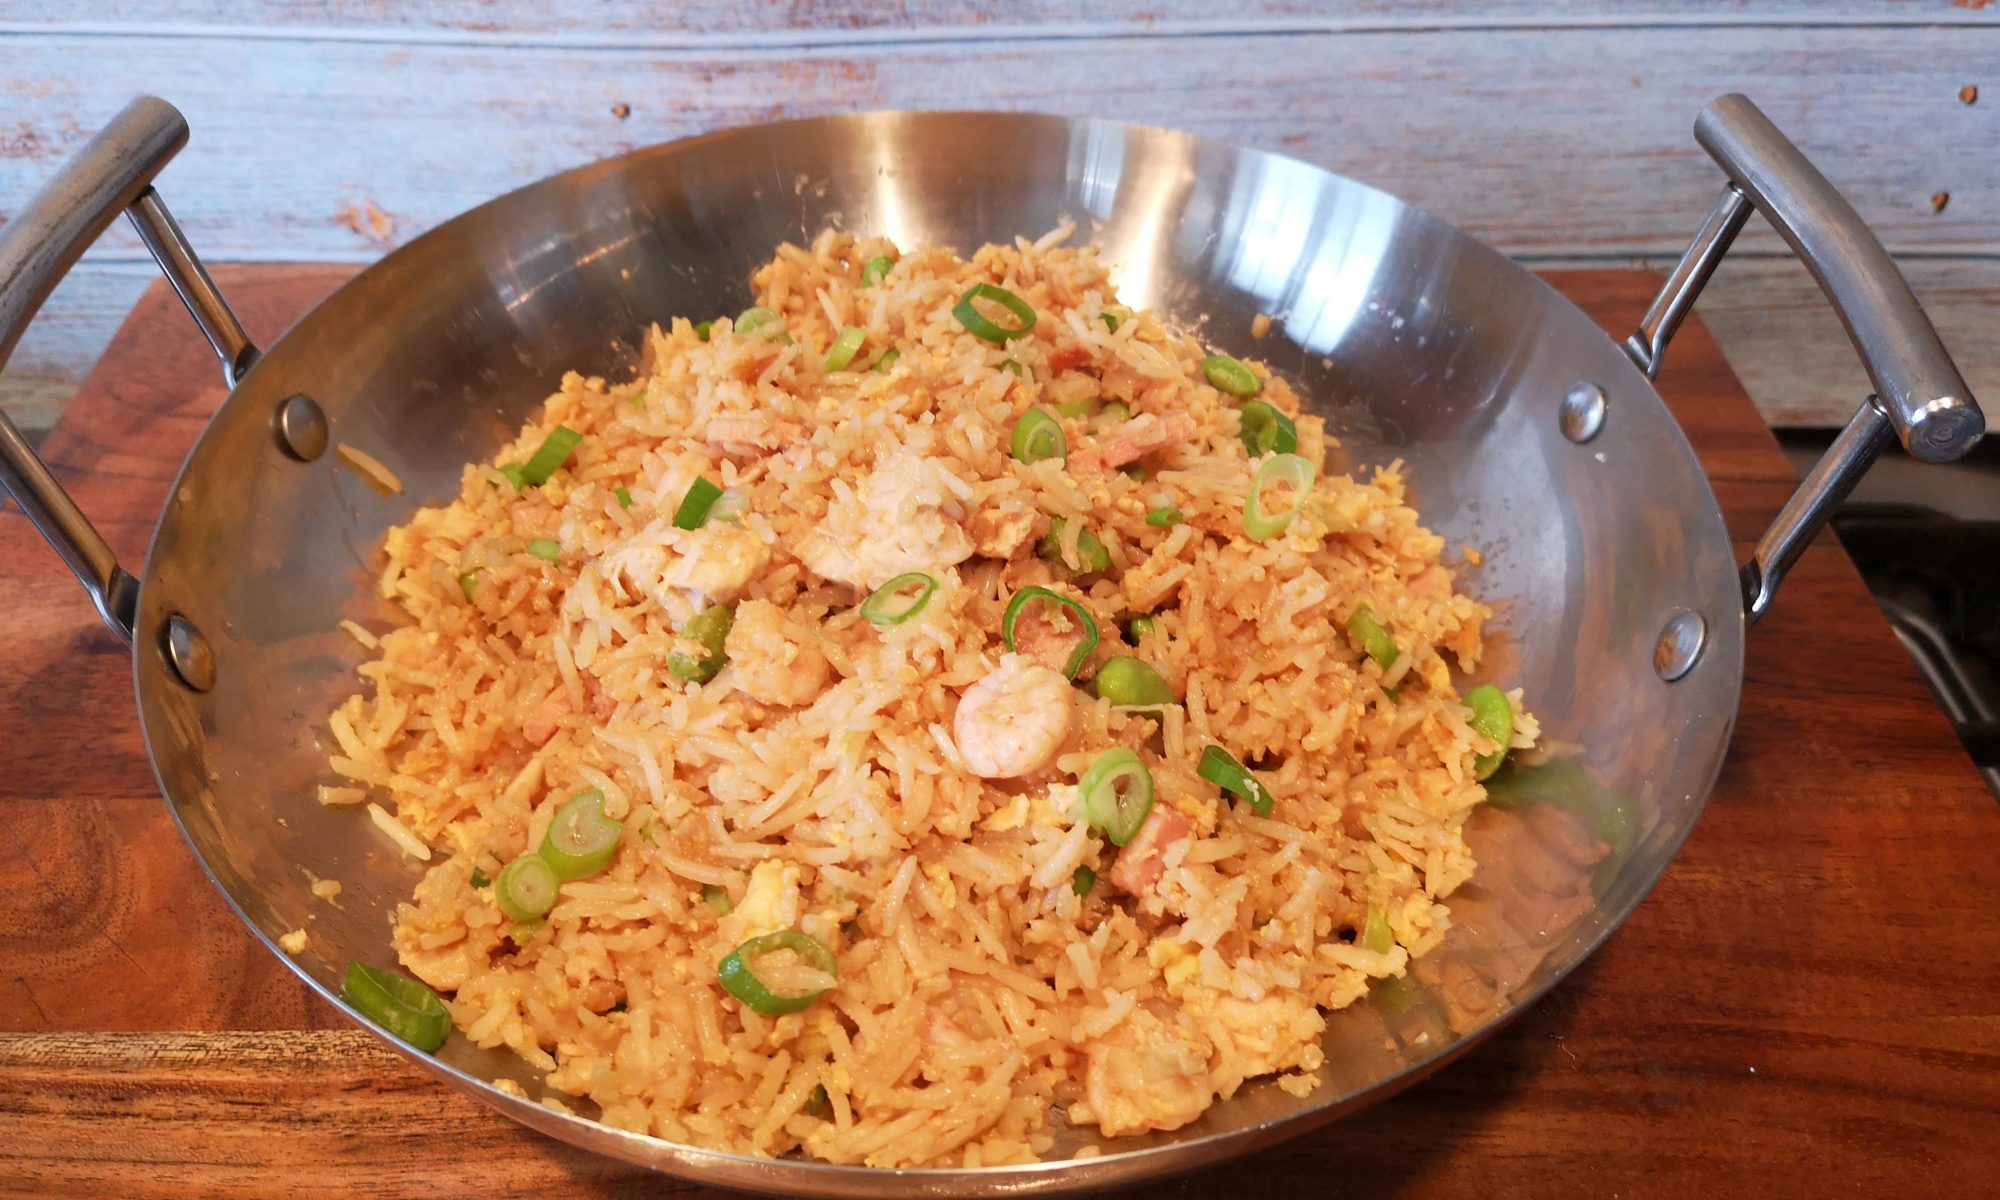
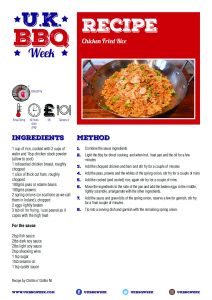
Chicken Fried Rice

This is an excellent dish for using up left overs and bits from the freezer. This was cooked on a Monolith Ceramic with the Wok holder and Wok but can easily be cooked on a bbq in a skillet.

Chicken Fried Rice

  • Prep Time15 min
  • Cook Time10 min
  • Total Time25 min
  • Yield4 Servings

Ingredients

  • 1 cup of rice, cooked with 2 cups of water and 1tsp chicken stock powder (allow to cool)
  • 1 rotisseried chicken breast, roughly chopped
  • 1 slice of thick cut ham, roughly chopped
  • 100gms peas or edame beans
  • 100gms prawns
  • 2 spring onions (or scallions as we call them in Ireland), chopped
  • 2 eggs lightly beaten
  • 3 tsb oil for frying, I use peanut as it copes with the high heat

For the sauce

  • 2tsp fish sauce
  • 2tbs dark soy sauce
  • 2tbs light soy sauce
  • 2tsp shaoxing wine
  • 1 tsp sugar
  • 1tsb sesame oil
  • 1 tsp oyster sauce

Method

1

Combine the sauce ingredients

2

Light the bbq for direct cooking  and when hot,  heat pan and the oil for a few minutes

3

Add the chopped chicken and ham and stir fry for a couple of minutes

4

Add the peas, prawns and the whites of the spring onion, stir fry for a couple of mins

5

Add the cooked (and cooled) rice, again stir fry for a couple of mins

6

Move the ingredients to the side of the pan and add the beaten eggs in the middle, lightly scramble, amalgamate with the other ingredients.

7

Add the sauce and green bits of the spring onion, reserve a few for garnish, stir fry for a final couple of minutes.

8

Tip into a serving dish and garnish with the remaining spring onion.

Free Recipe Card

Chicken Fried Rice

Download the free PDF Recipe Card

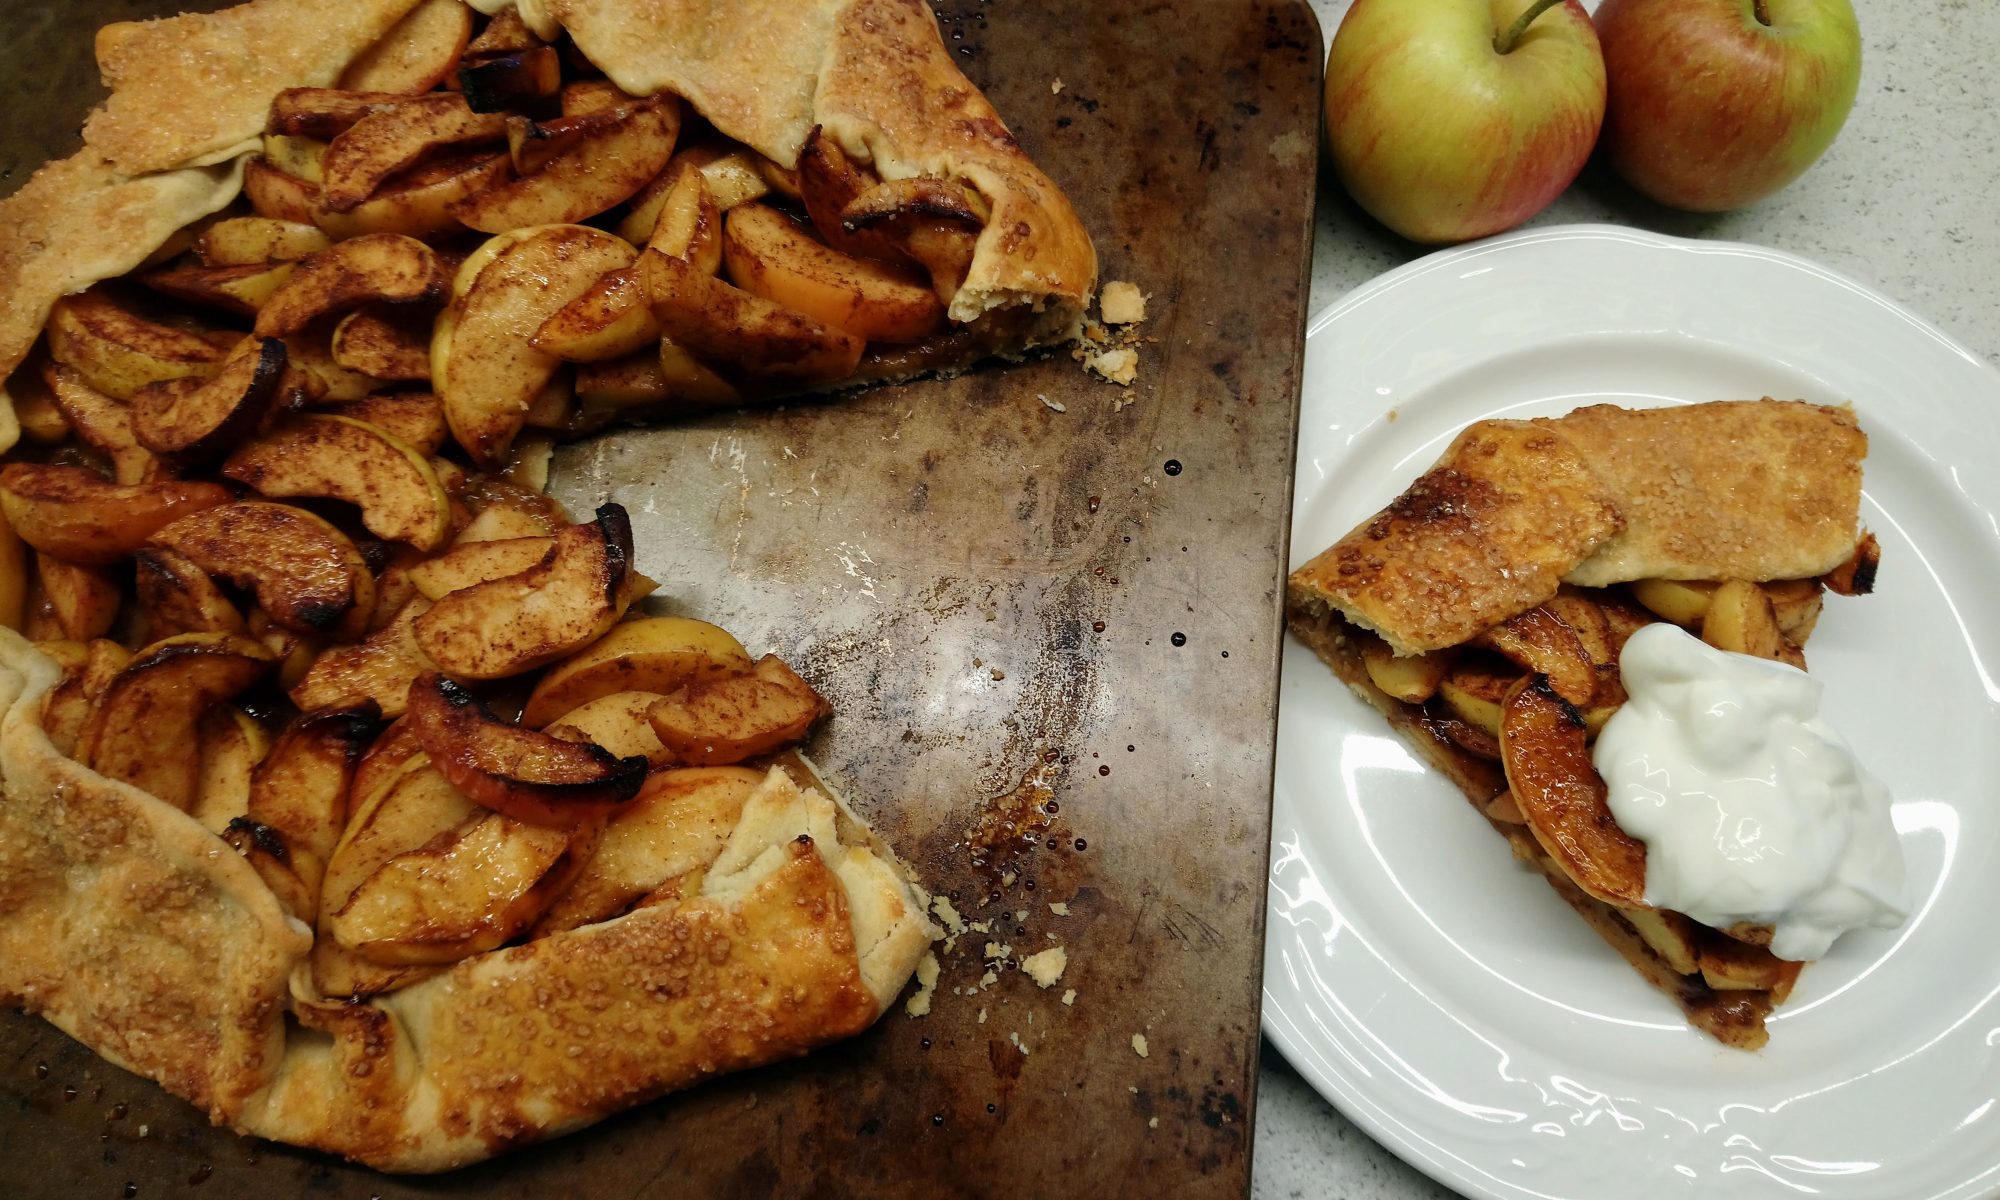
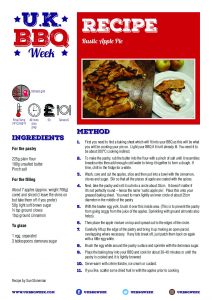
Rustic Apple Pie

Another easy and tasty recipe by Sue Stoneman. This is a very easy apple pie to make. It works well with other fruit and if you don’t want to make the pastry, buy a pack of the ready made stuff which will save you time.

Rustic Apple Pie

  • Prep Time30 min
  • Cook Time40 min
  • Total Time1 hr 10 min
  • YieldServings

Ingredients

For the pastry

  • 225g plain flour
  • 100g unsalted butter
  • Pinch salt

For the filling

  • About 7 apples (approx. weight 700g) cored and sliced (I leave the skins on but take them off if you prefer)
  • 50g light soft brown sugar
  • ¼ tsp ground cloves
  • 1tsp ground cinnamon

to glaze

  • 1 egg, separated
  • 3 tablespoons demerara sugar

Method

1

First you need to find a baking sheet which will fit into your BBQ as this will be what you will be cooking your pie on.  Light your BBQ if it isn’t already lit. You need it to be about 200°C cooking indirect.

2

To make the pastry, rub the butter into the flour with a pinch of salt until it resembles breadcrumbs then add enough cold water to bring it together to form a dough. If time, chill in the fridge for a while.

3

Wash, core and cut the apples, slice and then put into a bowl with the cinnamon, cloves and sugar.  Stir so that all the pieces of apple are coated with the spices.

4

Next, take the pastry and roll it out into a circle about 35cm.  It doesn’t matter if it’s not perfectly round – hence the name ‘rustic apple pie’.  Place this onto your greased baking sheet.  You need to mark lightly an inner circle of about 25cm diameter in the middle of the pastry

5

With the beaten egg yolk, brush it over this inside area. (This is to prevent the pastry from going soggy from the juice of the apples. Sprinkling with ground almonds also helps).

6

Then place the apple mixture on top and spread out to the edges of the circle.

7

Carefully lift up the edge of the pastry and bring it up making an open parcel, overlapping where necessary.  If any bits break off, just patch them back on again with a little egg white.

8

Brush the egg white around the pastry surface and sprinkle with the demerara sugar.

9

Place the baking tray into your BBQ and cook for about 30-40 minutes or until the pastry is cooked and it is lightly browned.

10

Serve warm with crème fraiche, ice cream or custard.

11

If you like, scatter some dried fruit in with the apples prior to cooking.

Free Recipe Card

Rustic Apple Pie

Download the free PDF Recipe Card

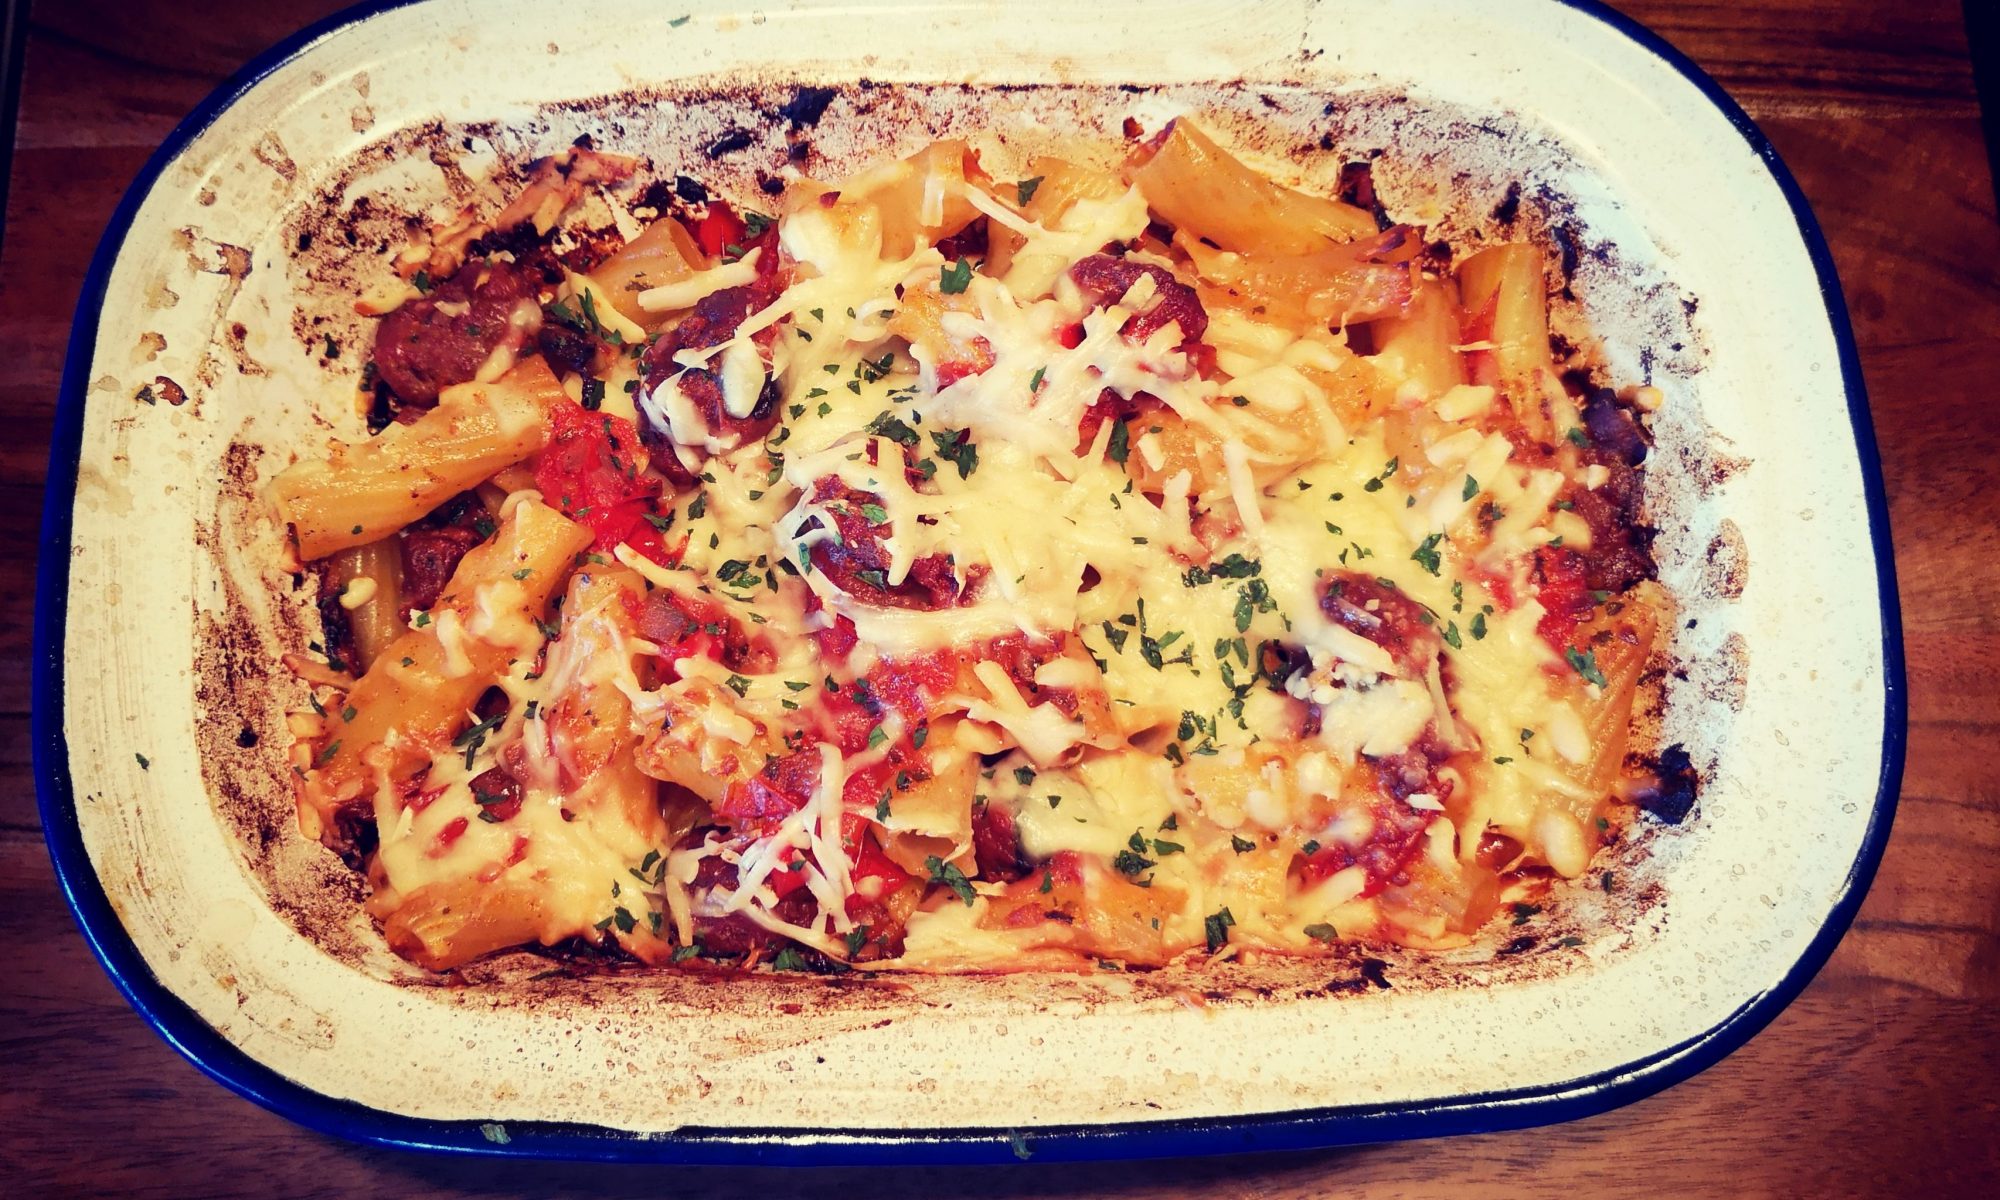
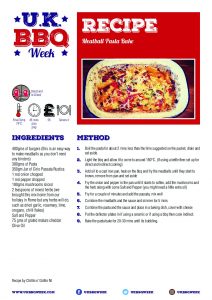
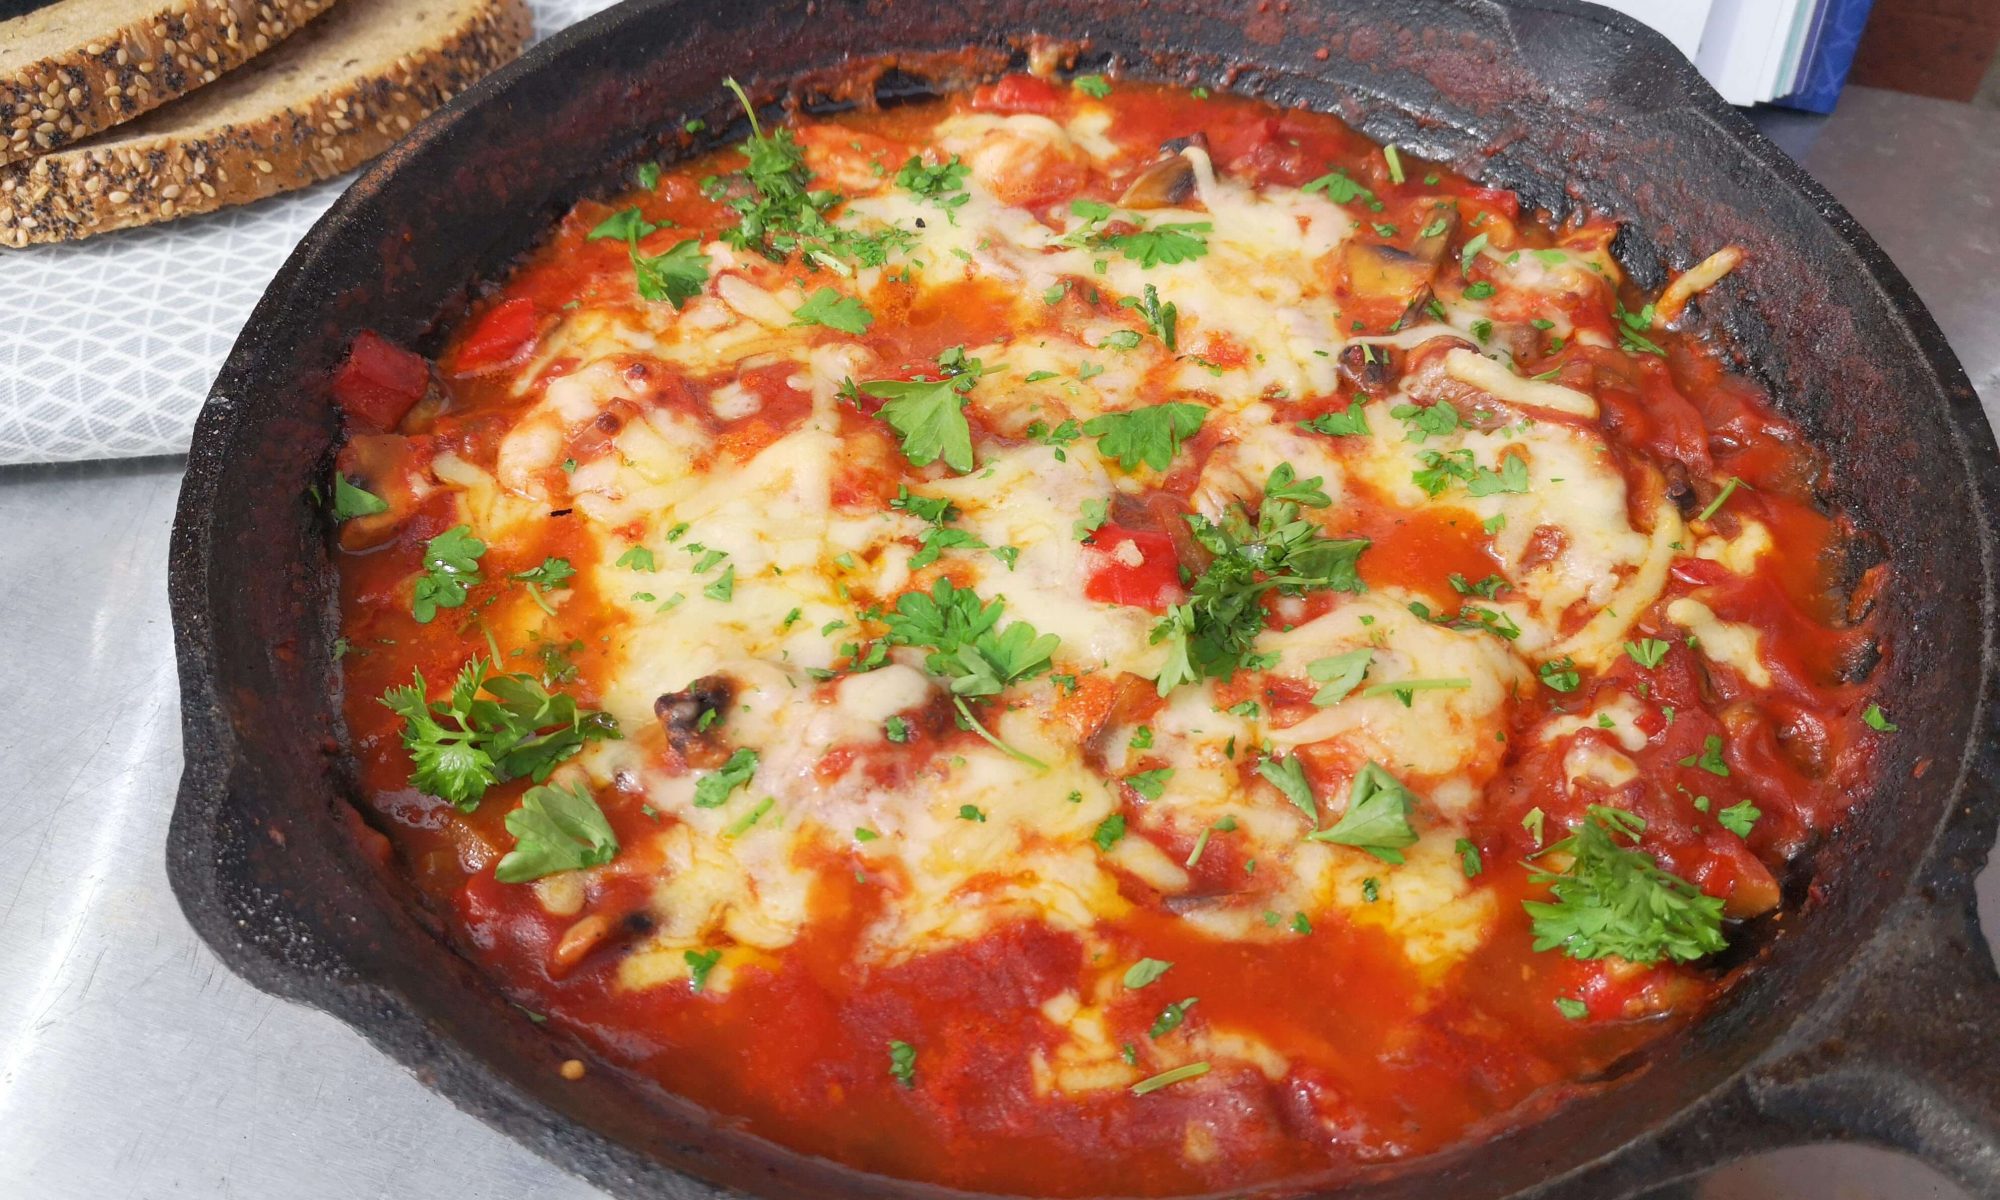
Meatball Pasta Bake

Meatball Pasta Bake

  • Prep Time20 min
  • Cook Time45 min
  • Total Time1 hr 5 min
  • Yield4 Servings
  • Cooking Method
    • Direct /Indirect

Ingredients

  • 400gms of burgers (this is an easy way to make meatballs as you don't need any binders)
  • 300gms of Pasta
  • 350gm Jar of Cirio Passata Rustica
  • 1 red onion chopped
  • 1 red pepper chopped
  • 100gms mushrooms sliced
  • 2 teaspoons of mixed herbs (we brought this mix home from our holiday in Rome but any herbs will do, such as dried garlic, rosemary, time, oregano, chilli flakes)
  • Salt and Pepper
  • 75 gms of grated mature cheddar
  • Olive Oil

Method

1

Boil the pasta for about 2 mins less than the time suggested on the packet, drain and set aside.

2

Light the bbq and allow it to come to around 180°C. (If using a kettle then set up for direct and indirect cooking)

3

Add oil to a cast iron pan, heat on the bbq and fry the meatballs until they start to brown, remove from pan and set aside

4

Fry the onion and pepper in the pan until it starts to soften, add the mushrooms and the herb along with some Salt and Pepper (you might need a little extra oil)

5

Fry for a couple of minutes and add the passata, mix well

6

Combine the meatballs and the sauce and simmer for 5 mins

7

Combine the pasta and the sauce and place in a baking dish, cover with cheese

8

Put the deflector plates in if using a ceramic or if using a bbq then cook indirect.

9

Bake the pasta bake for 20-30 mins until its bubbling.

Free Recipe Card

Meatball Pasta Bake

Download the free PDF Recipe Card

BBQ Dragon and Chimney of Insanity

The BBQ Dragon and Chimney of Insanity have been around a few years in the states and not really available here until now. Here’s a review from Mark Quigg (@Markie_q_bbq)

Those of you that follow me on social media, will be aware that I am a big fan of plancha cooking and have a great relationship with Smokerig and their sister site Totally BBQ. A few weeks ago, we were chatting about a new kettle BBQ they will be stocking when it is released in the coming months. They mentioned a new product that they had just managed to get hold of from America.

That product was the BBQ Dragon and the Chimney of Insanity. I must admit I had never heard of them, but they very generously offered to send them to me to play with. Just to clarify, they have at no point asked me to review the products, or promote them in anyway. I am free to give my honest opinion.

The BBQ Dragon is a stainless steel, battery powered variable speed fan on a flexible neck. At the other end is a heavy-duty rubber lined bulldog clip to fasten it, so it is completely hands-free. It has a variety of uses, from lighting fires, increasing temps, to recovering smouldering fires.

    The Chimney of Insanity’s design from the outside looks like most chimney starters, apart from the protruding hole on one side, towards the bottom of the chimney. When you look inside, the charcoal grate is not conical, but flat and you can see that the hole that protrudes for the side, is actually a 90-degree elbow joint. The concept is that you place a firelighter in the elbow joint and this causes a large draw of air up through the coals.

    But this is where they come into their own. The hole is the exact size of the BBQ Dragon fan head, which slots into the hole on the chimney and transforms it into more of a rocket stove. On my first use, I lit a chimney full of new Weber briquettes in 4 minutes and 32 seconds. No mean feat. It’s capacity is slightly less than a Weber chimney starter, probably around ¾ the size. This isn’t an issue for me as I rarely used to light a full chimney.

    Since then I have been experimenting with them both and having a lot of fun.  I have used the BBQ Dragon at the end of cooks to bring the temperature of the coals up, so I have an intense sear zone. This is great with a Slow N Sear. It’s worked well with my Kadai Fire Bowl, on some Oak wood that has always previously really struggled and always smouldered. It has also worked with my Ooni 2S, to fire up the pellets quicker and in between pizzas to keep the temperature up. All of which it has handled with ease.
    I’ve used the Chimney of insanity with a grate across the top, with the BBQ Dragon on and cooked some proper flame grilled steaks. On YouTube others have also used them as a Wok burner.

    I am very impressed with them so far. The build quality seems great. It’s the first chimney starter I have used where the handle doesn’t even get slightly warm. The BBQ Dragon runs on 4 x AA batteries. It does have a micro USB socket on the handle, so you can trickle charge rechargeable batteries if you like.

    So do you need one in order to be able to BBQ?  No.  But do you want a quicker method of lighting your BBQ, that’s portable, handsfree and can help searing, fire management, pizza making etc? Then I would recommend checking it out. It’s one of those gadgets that once you have it, you wonder how you ever coped without it. The BBQ Dragon and Chimney of Insanity are available separately or as a bundle on www.tbbq.co.uk.  Feel free to get in touch on Twitter or Instagram (@Markie_q_bbq) if you want any more information.

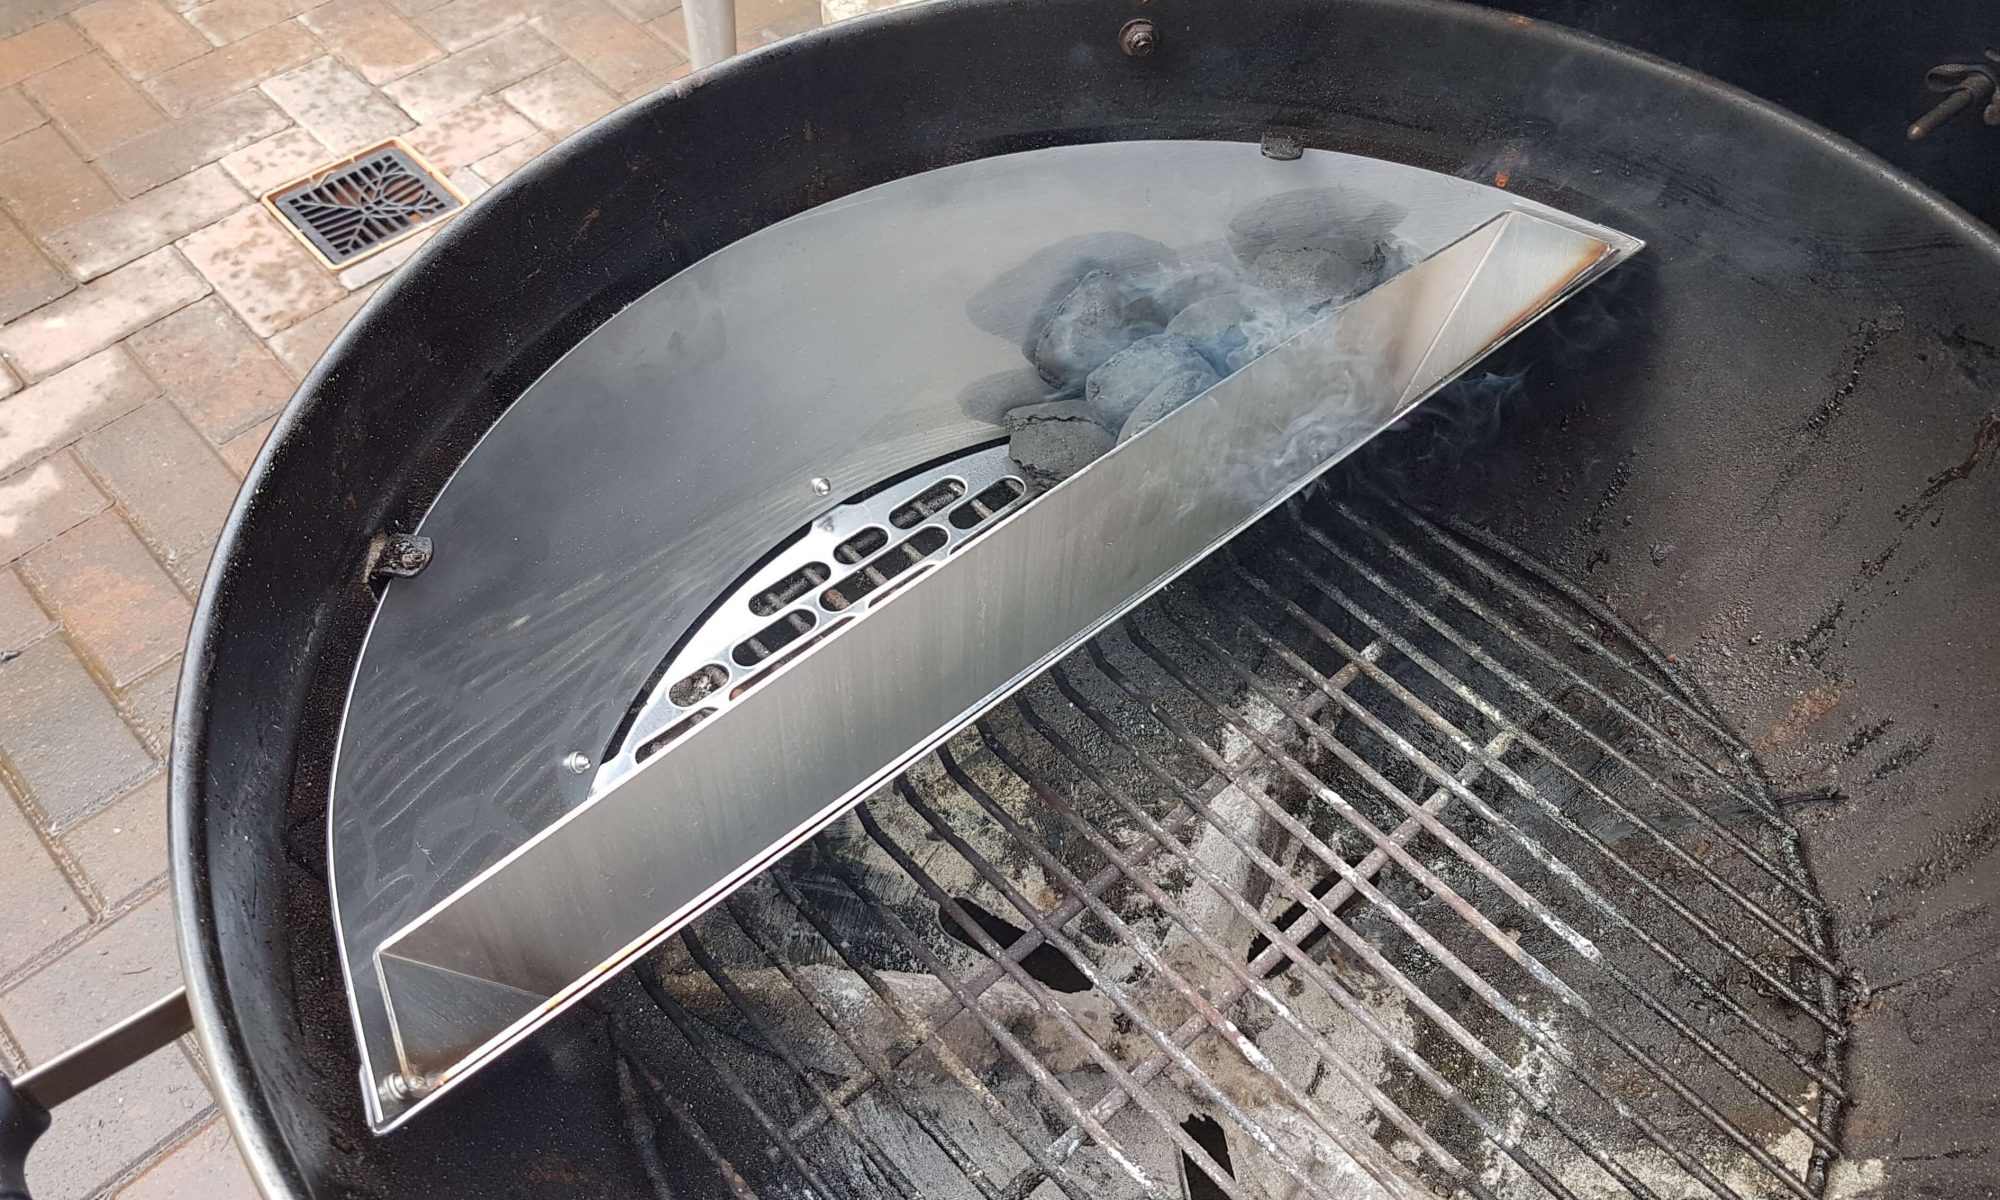
    SNS Grills – Slow ‘N Sear

    What is a Slow ‘N Sear I hear you ask. Basically it turns your kettle bbq into a smoker to allow you to cook food at a low temperature. Pulled pork is a great example. Normally cooked at 110°C (225°F) over many hours which is not easily achievable on a kettle without a lot of baby sitting.

    I bought this a while ago from Totally BBQ after watching a load of YouTube videos and being initially attracted by how easy it looked. I’ve seen numerous basket set ups and snakes etc in the Weber that will do a similar job but this seemed a lot easier to use, so the Slow ‘n Sear 2.0 was ordered.

    Arrived and unboxed, first impressions were a well-made sturdy piece of stainless steel which fitted perfectly in my Weber 57. The coals obviously go in the back and the water baffle is filled with hot water.

      The instructions said to start a few coals in one end of the basket as shown above. (I now just start some in my small weber chimney and stack in when hot). Once initial coals are going, fill with more fuel and then I filled the baffle with water from a boiling kettle. Add a couple of bits of your favourite wood on and your good to go.

      The baffle can be removed if you just want to use it with charcoal for a sear zone of for indirect cooking.

      Once the  lid was on it didn’t take long for it to approach the desired temp of 110°C (225°F) and then just cracking the bottom vent and the top vent slightly open, it didn’t need much tweaking for it to stay around there for the next 8 hours.

      Just for information I was using Cococabana Grillbriketts

      Here’s them at 3 hours, 6 hours and 8 hours respectively. The temp was easy to maintain with just a little vent tweaking now and again.

      I’ve now used this on a quite few cooks and been more than pleased with it. To be honest it doesn’t really come out of the BBQ unless I’m using the Fuel Dome for wings. As there’s only two of us at home now, I even got rid of a couple of smokers that now just weren’t being used.

      There’s a few extras available for it like a griddle pan and a rotating rack with a bigger flip up portion for adding coals.

      For me, I really like it and if anything happened to it, I’d definitely replace it in a heartbeat.

      Available from Totally BBQ.

      Baked Prawns

      This is a popular one pot dish served throughout Turkey. The recipe, comes from the book Ozlem’s Turkish Table by Ozlem Warren and has been adapted for cooking on the BBQ.
      I’ve  only had the book a couple of months and have marked quite a few recipes to cook on the BBQ.  Ozlem kindly gave permission to reproduce this recipe. Below is the link to her book,

      Baked Prawns

      • Prep Time15 min
      • Cook Time30 min
      • Total Time45 min
      • Yield4 Servings
      • Cuisine
        • Mediterranean
      • Course
      • Cooking Method
        • Direct/InDirect

      Ingredients

      • 225gms Raw King Prawns (shelled)
      • 225gms mushrooms, cleaned and sliced
      • 1 onion thinly sliced
      • 2 garlic cloves
      • 1 green pepper
      • 2 bay leaves
      • 400gms tin of chopped tomatoes
      • 60ml water
      • 120gms grated chedder
      • 3 tbs olive oil
      • salt and pepper to taste
      • 2 tsp turkish red pepper flakes (pul biber) or chilli flakes if you can't get them
      • Handful of fresh parsley
      • Flat breads or sourdough to serve

      Method

      1

      Preheat the BBQ to 180°C and set up for indirect.

      2

      Heat the olive oil over the coals, and stir in the onion, peppers and mushrooms cook for about 4 to 5 mins until they begin to soften

      3

      Add the garlic, season with salt, pepper and red pepper flakes cook for another 4-5 mins

      4

      Add the chopped tomatoes, bay leaves and water, combine well

      5

      Simmer for about 10 mins until the sauce starts to thicken

      6

      Stir in the prawns sprinkle with grated cheese, move to indirect heat, cover the pan or the bbq with a lid and bake for 10 mins until prawns are cooked and the cheese is nicely melted.

      7

      Garnish with chopped parsley and serve hot with bread of your choice

      Free Recipe Card

      Baked Prawns

      Download the free PDF Recipe Card

      Ozlem Warrens book ‘Ozlems Turkish Table’ is available from all good bookshops.
      OURMAND World Cookbook Awards WINNER and BEST IN THE WORLD, Heritage: Turkey. Foreword Indies Awards (USA, International) HONORABLE Mention for Cooking.

      ISBN-10: 1912031949
      ISBN-13: 978-1912031948

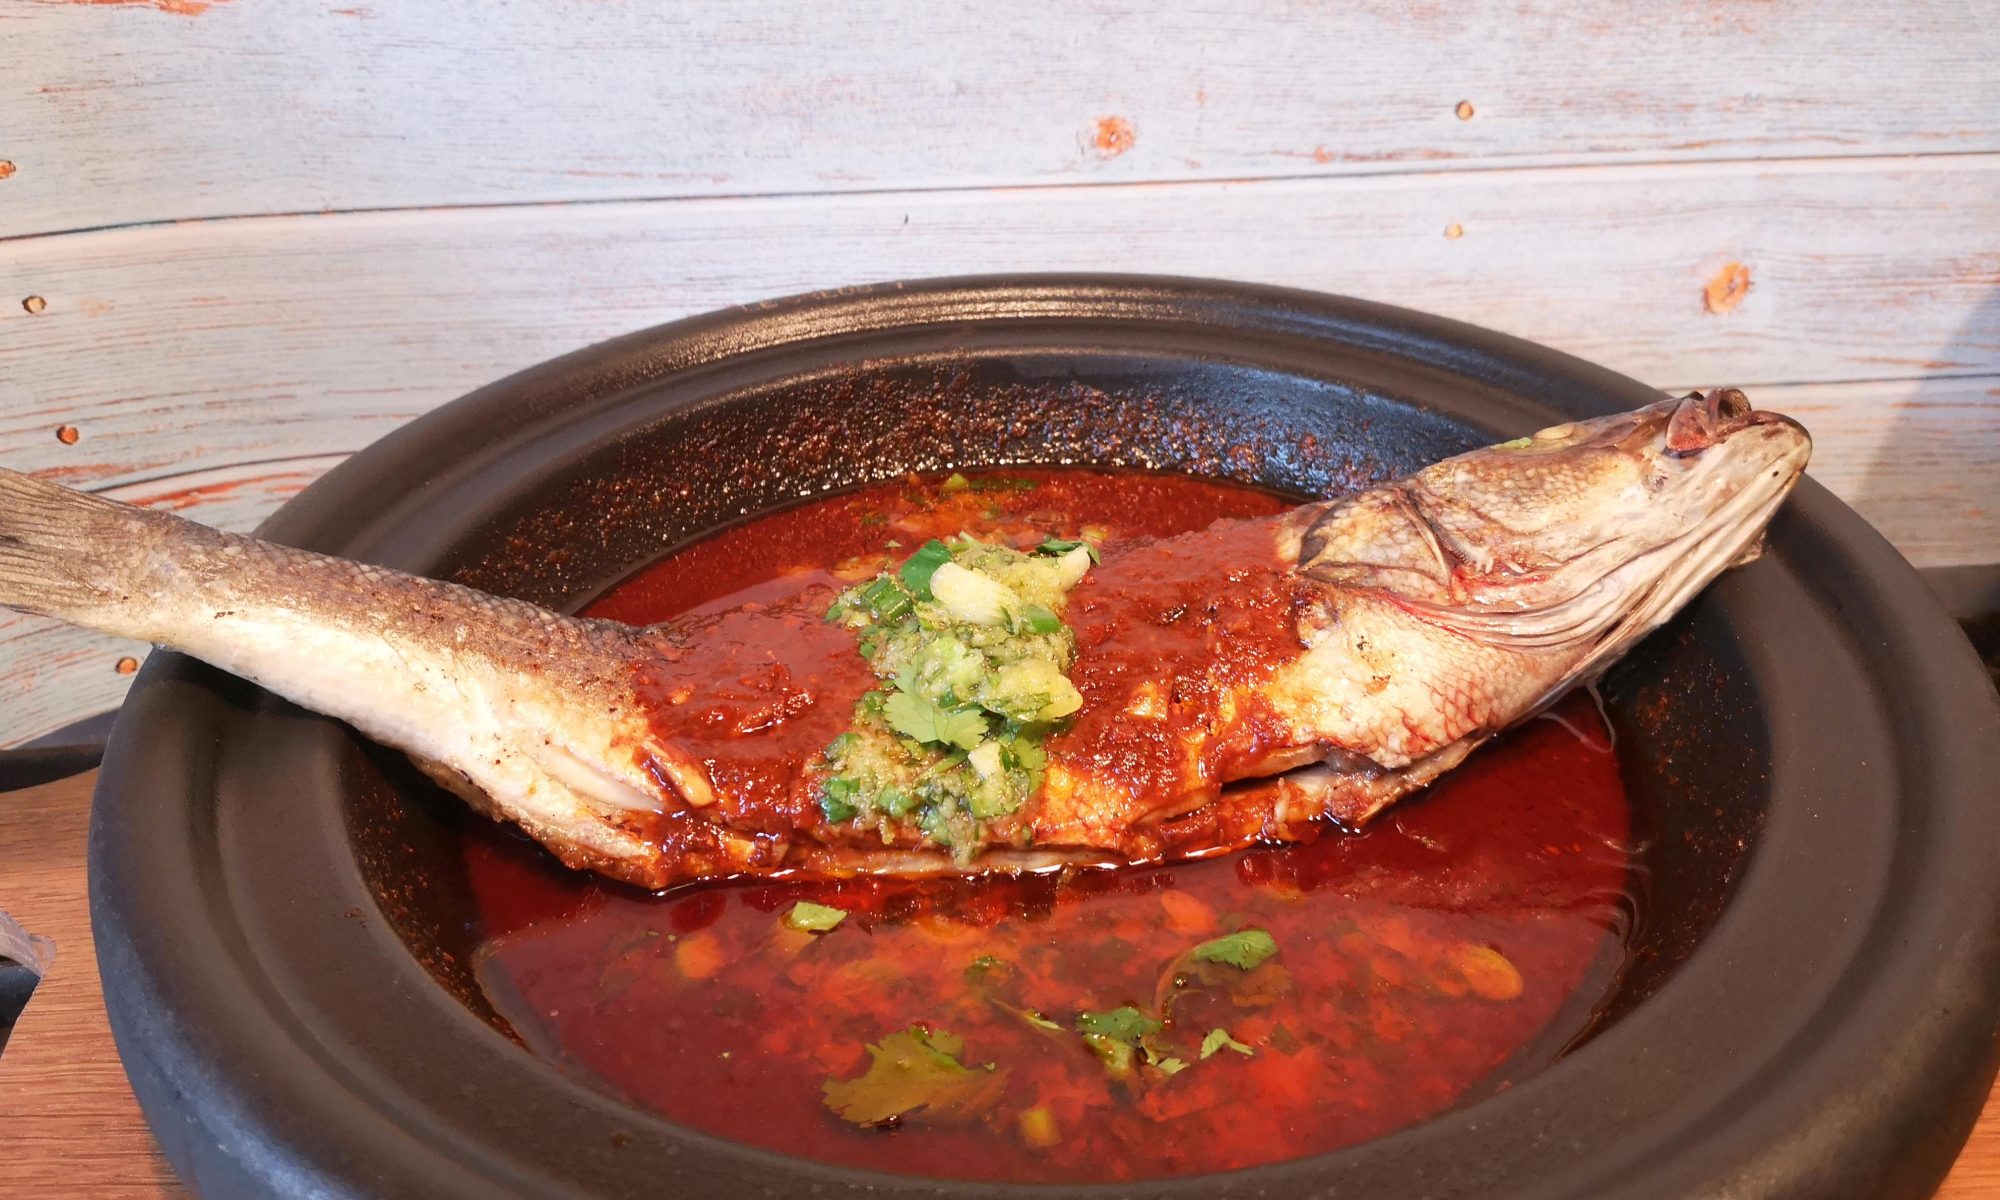
      Grilled Sea Bass

      Grilled Whole Sea Bass Chreime with ginger and coriander relish
      Chreime is a Tunisian fish stew but in this recipe bbq-ing the fish adds a depth of smoke flavour

      Grilled Sea Bass

      • Prep Time10 min
      • Cook Time20 min
      • Total Time30 min
      • Yield2 Servings

      Ingredients

      • 6 garlic cloves peeled and roughly chopped
      • 1tbsp salt
      • 1 1/2tsp caraway seeds toasted in a dry pan and ground in a spice blender
      • 1 tsp cumin seeds toasted in a dry pan and ground in a spice blender
      • 100ml olive oil
      • 2tbs smoked paprika
      • 1/2 tsp cayenne pepper
      • 50g tomato paste
      • 1tbsp red wine vinegar
      • 1tsp sugar
      • 1 sea bass approximately 700gms scaled and gutted.
      • Juice of 1 lime

      Method

      For the Ginger and Coriander Relish

      1

      Combine all the ingredients in a bow, season to taste with salt and pepper and set aside

      For the Chreime

      2

      Crush the garlic with the salt, caraway and cumin and garlic in a pestle and mortar, add a table spoon of olive oil, the paprika and cayenne pepper and stir to combine

      3

      Heat the rest of the oil in pan over medium heat, add the garlic and spice mix and fry stirring frequently to avoid burning.

      4

      Bring to a gentle simmer then add the vinegar and sugar. Taste and adjust seasoning if needed. Keep warm.

      5

      Score the sea bass on each side and drizzle with oil, season with salt and pepper

      6

      Set the bbq up for direct grilling, once ready grill your sea bass for 3-4 mins a side, it should be opaque and slightly firm when ready.

      7

      Put sea bass into sauce and bring to a gentle simmer spooning some sauce over to finish the cooking.

      8

      Serve with the relish spooned over and straight from the pan.

      9

      Some toasty crusty bread and a green salad make great sides

      Free Recipe Card

      Grilled Sea Bass

      Download the free PDF Recipe Card

      Show Buttons
      Hide Buttons